-
- The first AR coloring card in Taiwan- Bring 3DMommy's image into to life
- Bayer integrates MIFLY AR Technology , teach you how to help your dog relax
- Halloween combines with AR, shining New Taipei City
- Mei hao dahu
- Taiwan Railway celebrates 132nd anniversary exhibition, create immersive AR interactive APP together with MIFLY
- Zhu Ming Art Museum X MAKAR launches WEB AR painting experience
- CTV celebrates its 50th anniversary, especially using WebAR technology to add joy!
-
- AR Envelope for Beginner –New Year Rabbit
- AR Envelope for Advancedr –Lucky Rabbit
- 【XR Project Tutorial】How to Create the Keelung Harbor Whale Shark AR Experience? Use MAKAR to Create an AR Experience with Whales Soaring in the Sky!
- MAKAR Magic index
- Spring Festival AR Animation Tutorial
- Logic-Macaron AR Animation
- MAKAR Mask project
- MAKAR Santa Claus - boning
- Metaverse Draw Lots-Using Variable and Lists of MR Project
- Use MAKAR to learn physics-Let's make an AR cannon!
- Cooperative Learning in MAKAR_Portal
-
- [3A Emerging Technology Center] Lantern Festival sky lantern wishing pool, MR virtual world is at your disposal
- 3131922-5G New Technology Learning Demonstration School Series Study
- 3088204- XR Practice Application (Advanced)
- 3088200- XR Practice Application (Beginner)
- 3124796-VR reality design practical application course (online course)
- Beishi Yanxizi No. 1100712009
-
- MAKAR Flash - Brain and Speed Challenge! When MR Paper Sumo Meets NPC Battle Mechanism
- MAKAR Flash - 3D Creation Made Easy: Animal Music Box Quick Workshop
- MAKAR Flash-Dragon Boat Festival XR Game Creation Crash Course: Mastering MAKAR's Latest Features with AI-Assisted Extended Reality
- MAKAR Flash -One-hour 3D Material Specialization Class, the philosophy that must be grasped for XR creation
- MAKAR Flash-How to integrate AR/VR into teaching with 5G? Quickly build your exclusive XR teaching materials!
- MAKAR Flash-Creating Your Own 3D Material Library with Your Phone? MAKAR 3D Scan New Application Analysis!
- MAKAR Flash-How Can Beginners Quickly Recreate Unity AR/VR Projects?
Adjust Basic Attributes
- 2024-03-21
- by MAKAR
Adjust Basic Attributes
In MAKAR Editor editing page, clicking on an object will bring up the adjustment panel on the right. You can adjust the basic properties of the object according to your needs. Different types of objects have different basic properties that can be adjusted. The following will introduce the basic properties and methods for adjusting objects.
|
Contents
|
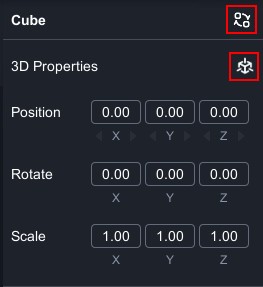
- After dragging an object into the scene, the right side displays the basic properties panel of the object.
-
The properties include position, rotation, and scale, which can be directly inputted according to your needs, or quickly changed by dragging the left mouse button on XYZ.
-
Click "
 " to quickly resets the position, rotation, and scale of the object to default.
 -
Click "
 " to quickly replace objects on the scene.
-
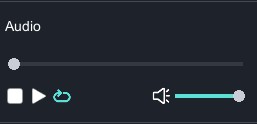
After dragging audio object into the scene, the audio panel will appear on the right.
-
You can play or pause the audio, adjust the volume, and enable loop playback.
Adjust 3D Animated Object
-
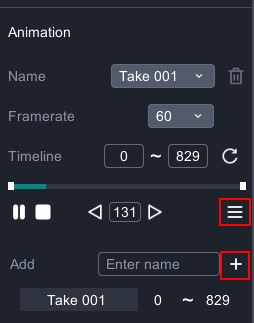
After dragging 3D object with animation into the scene, the animation panel will appear on the right.
-
Click "Name" to switch between different types of animations based on the model's built-in animations.
- Adjust the animation "framerate" according to your needs and view the "timeline" for each animation.
- Animation Splitting:Click "
 " to bring up the new animation window. Use the timeline to capture the required animation segments, enter a name, and finally click "
 " to successfully add the animation.。
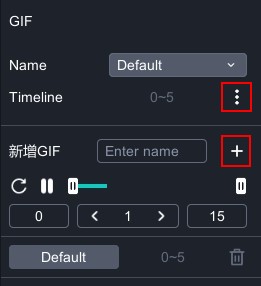
- After dragging GIF object into the scene, the animation panel will appear on the right.
- Animation Splitting:Click "
 " to bring up the new animation window. Use the timeline to capture the required GIF animation segments, enter a name, and finally click "" to successfully add the GIF animation.
Adjust 3D Material Properties
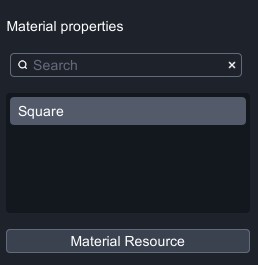
- After dragging 3D object into the scene, the material properties panel will appear on the right.
- Due to the diverse functions of material properties, we have separately opened a series of tutorials for 3D material properties. Please click the category on the left to manage the material library-related tutorials.
Adjust 2D Image
 |
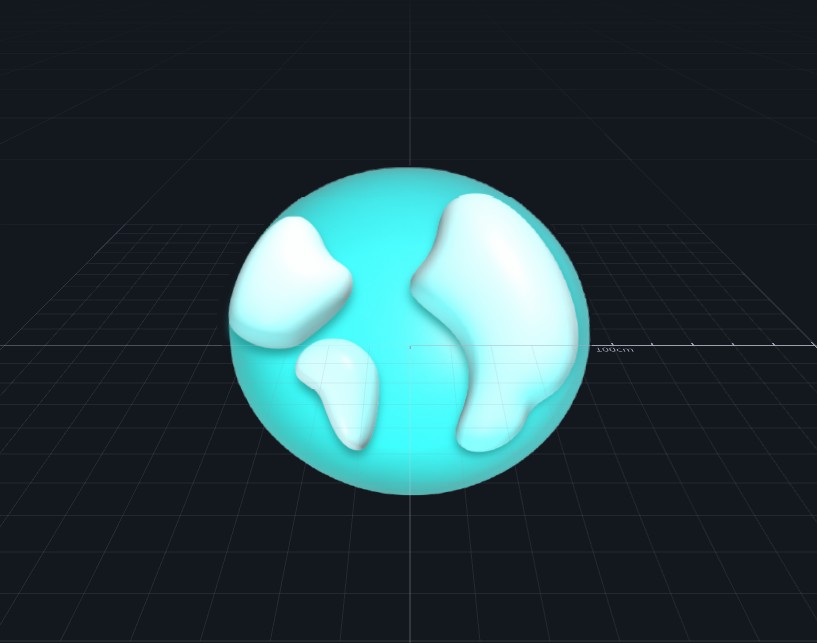 |
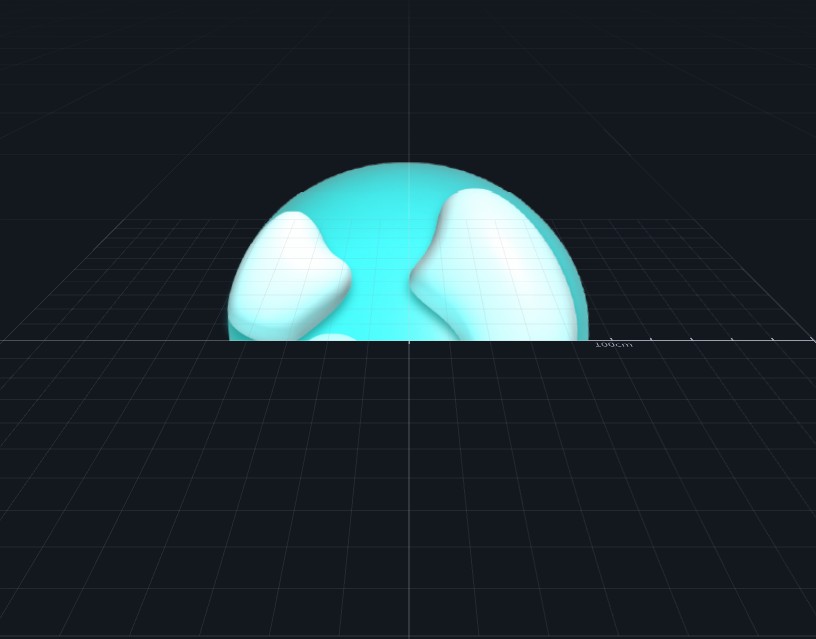
| ▲ Transparent | ▲ Opaque |
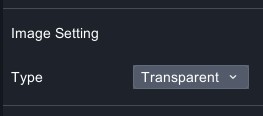
- After dragging 2D images into the scene, the image settings panel will appear on the right.
- Transparent: Indicates that the image itself is transparent.;Opaque: Indicates that the image itself is opaque.
 |
 |
| ▲ Both images are transparent: When overlapping, it is difficult to determine the front and back difference. | ▲ Button image adjusted to opaque: This makes the image appear in the front. |
-
Taking two transparent PNG images as an example, when these two images with transparency overlap, since both are transparent, the system cannot determine the front and back effects. Therefore, if you want two images with transparency to show a clear front and back relationship, you can set the one behind as "Opaque" to solve the problem of overlapping disappearance.
Logic


- After dragging any object into the scene, the "Logic" switch will appear on the right and can be clicked to set the object as a logical object.
- Click "Logic" in the upper left corner to start arranging the programming for objects to trigger. Click "Run" to preview the presentation.
- As the use of logic is complex, we have separately opened detailed logic tutorials. Please click the category on the left to view the relevant tutorials on logic building blocks.