-
- The first AR coloring card in Taiwan- Bring 3DMommy's image into to life
- Bayer integrates MIFLY AR Technology , teach you how to help your dog relax
- Halloween combines with AR, shining New Taipei City
- Mei hao dahu
- Taiwan Railway celebrates 132nd anniversary exhibition, create immersive AR interactive APP together with MIFLY
- Zhu Ming Art Museum X MAKAR launches WEB AR painting experience
- CTV celebrates its 50th anniversary, especially using WebAR technology to add joy!
-
- AR Envelope for Beginner –New Year Rabbit
- AR Envelope for Advancedr –Lucky Rabbit
- 【XR Project Tutorial】How to Create the Keelung Harbor Whale Shark AR Experience? Use MAKAR to Create an AR Experience with Whales Soaring in the Sky!
- MAKAR Magic index
- Spring Festival AR Animation Tutorial
- Logic-Macaron AR Animation
- MAKAR Mask project
- MAKAR Santa Claus - boning
- Metaverse Draw Lots-Using Variable and Lists of MR Project
- Use MAKAR to learn physics-Let's make an AR cannon!
- Cooperative Learning in MAKAR_Portal
-
- [3A Emerging Technology Center] Lantern Festival sky lantern wishing pool, MR virtual world is at your disposal
- 3131922-5G New Technology Learning Demonstration School Series Study
- 3088204- XR Practice Application (Advanced)
- 3088200- XR Practice Application (Beginner)
- 3124796-VR reality design practical application course (online course)
- Beishi Yanxizi No. 1100712009
-
- MAKAR Flash - Brain and Speed Challenge! When MR Paper Sumo Meets NPC Battle Mechanism
- MAKAR Flash - 3D Creation Made Easy: Animal Music Box Quick Workshop
- MAKAR Flash-Dragon Boat Festival XR Game Creation Crash Course: Mastering MAKAR's Latest Features with AI-Assisted Extended Reality
- MAKAR Flash -One-hour 3D Material Specialization Class, the philosophy that must be grasped for XR creation
- MAKAR Flash-How to integrate AR/VR into teaching with 5G? Quickly build your exclusive XR teaching materials!
- MAKAR Flash-Creating Your Own 3D Material Library with Your Phone? MAKAR 3D Scan New Application Analysis!
- MAKAR Flash-How Can Beginners Quickly Recreate Unity AR/VR Projects?
Create Point Card Module
- 2024-04-17
- by MAKAR
MAKAR Editor offers an interactive point card module, allowing users to collect points by scanning AR target images with their mobile devices. This module is widely used in event marketing, such as offering rewards upon collecting enough points. Additionally, this module can be effectively used in the education sector, such as setting up point collection games for learning tasks to increase engagement and enhance the learning experience. The following instructions will explain how to create a point card module.
|
Contents
|
Play Point Card Process

Create Point Card
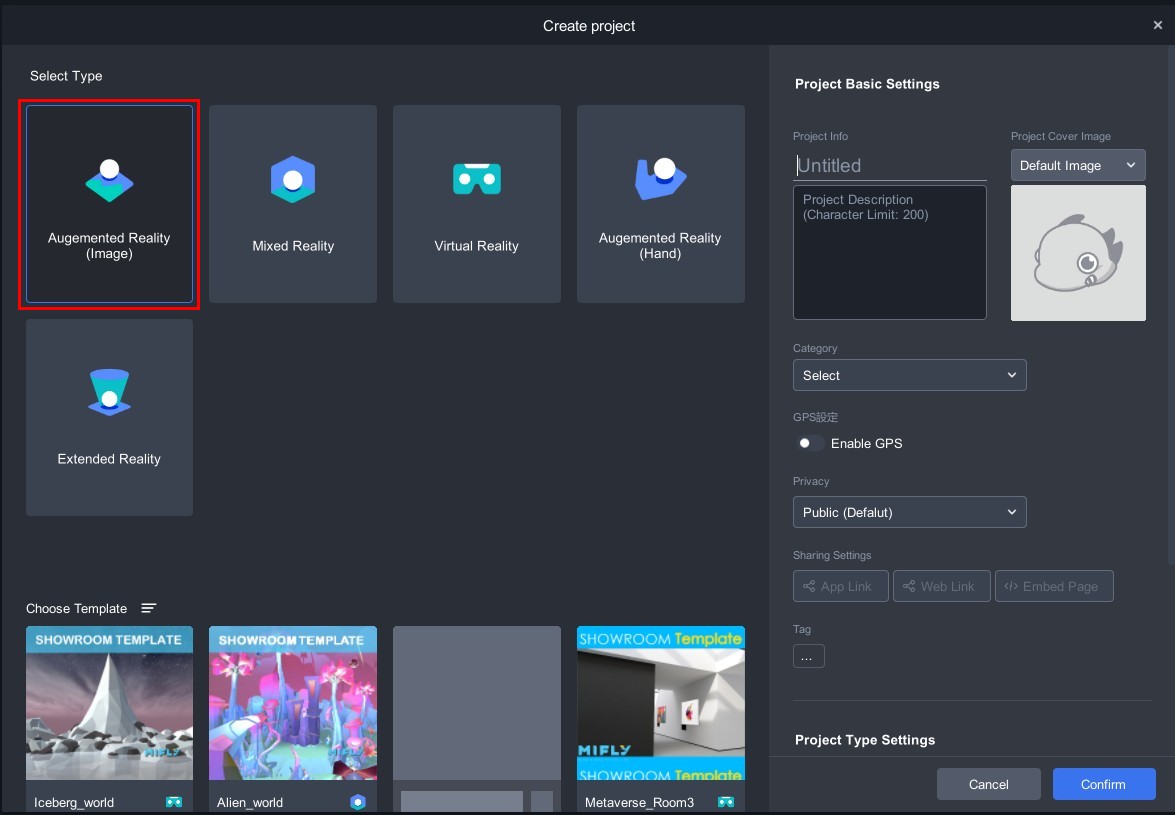
1. The point card module belongs to 2D interactive experience and includes the function of scanning and recognizing images. Therefore, when creating the point card module, you must choose to add a project under "Augmented Reality(Image)".
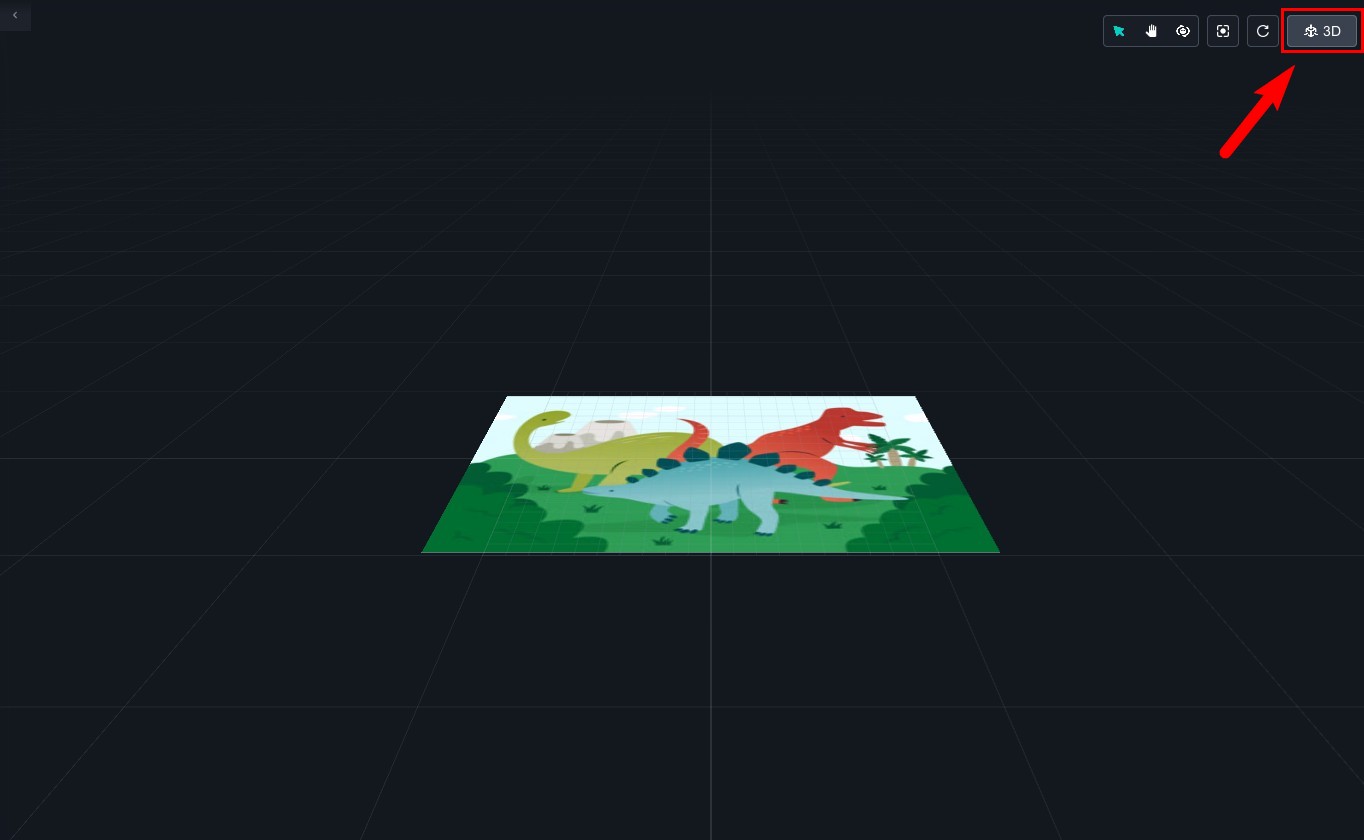
2. Enter the augmented reality image project, click "
 |
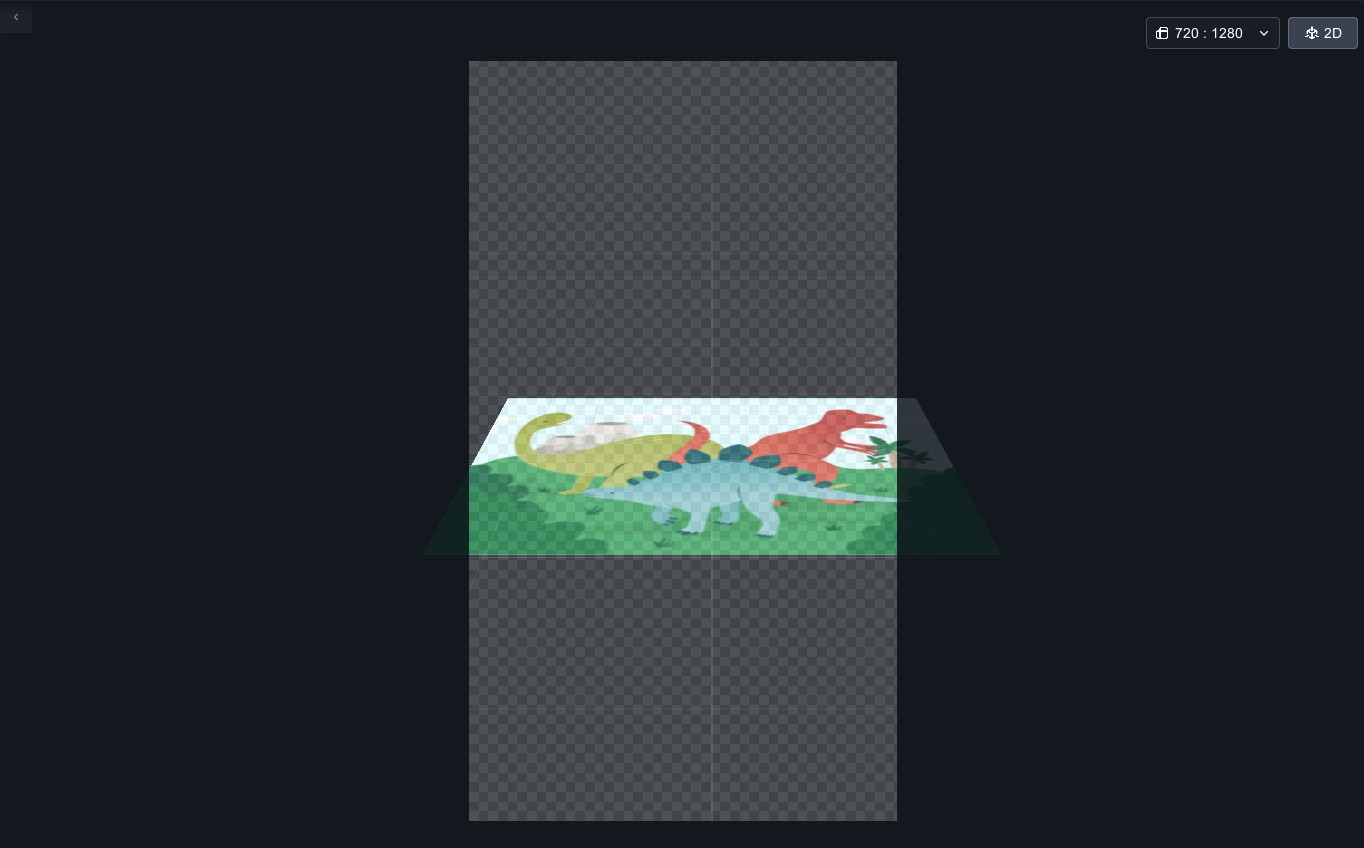 |
| ▲ Before switch | ▲ After switch |
3. Click "Module" on the left side and drag "Point Card" into the scene.
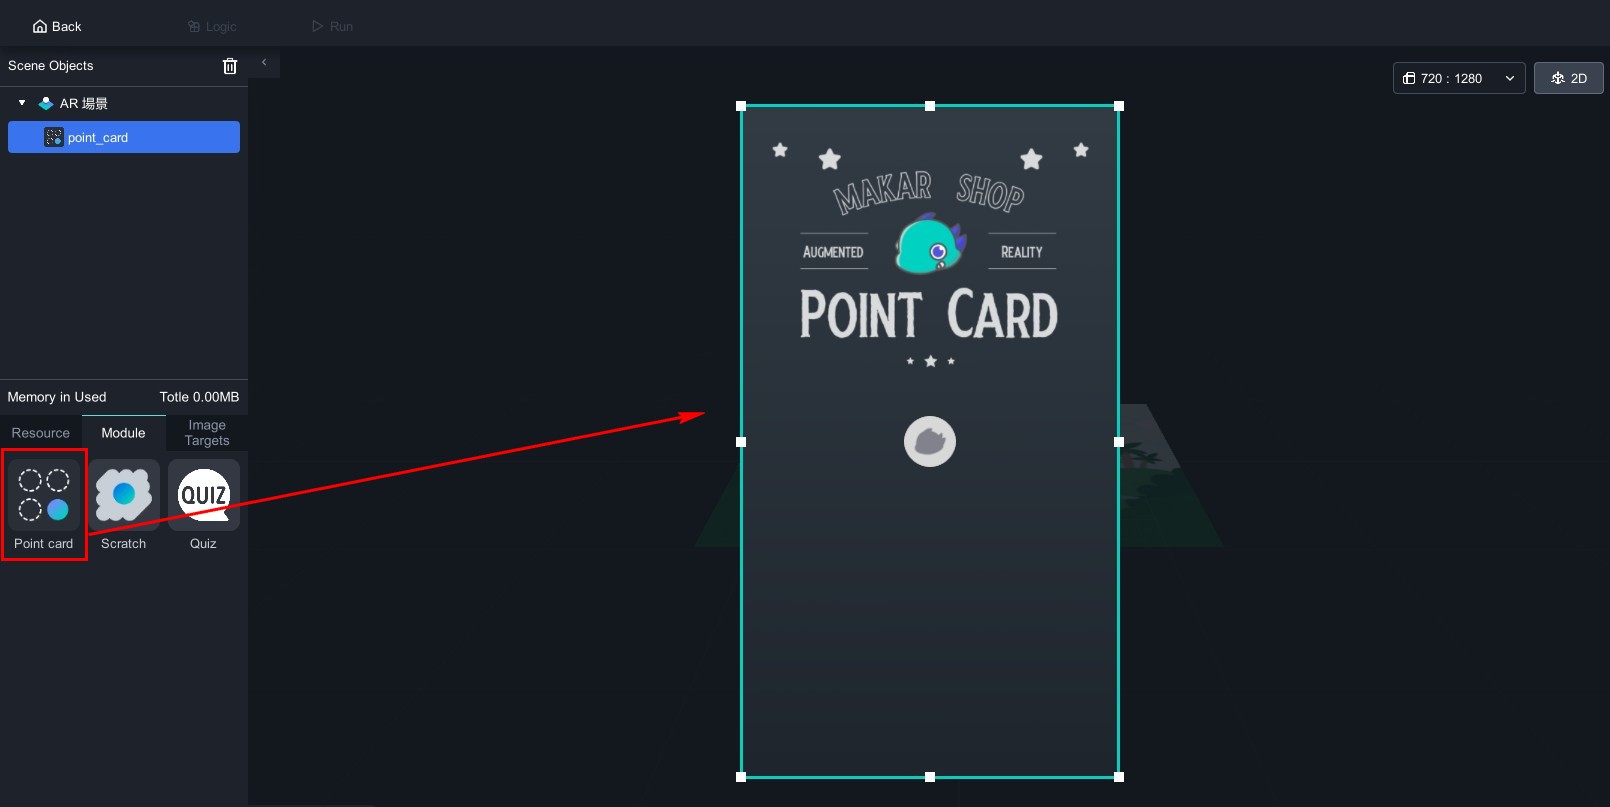
4. Click the module in the scene objects, and the point card function window will appear on the right.
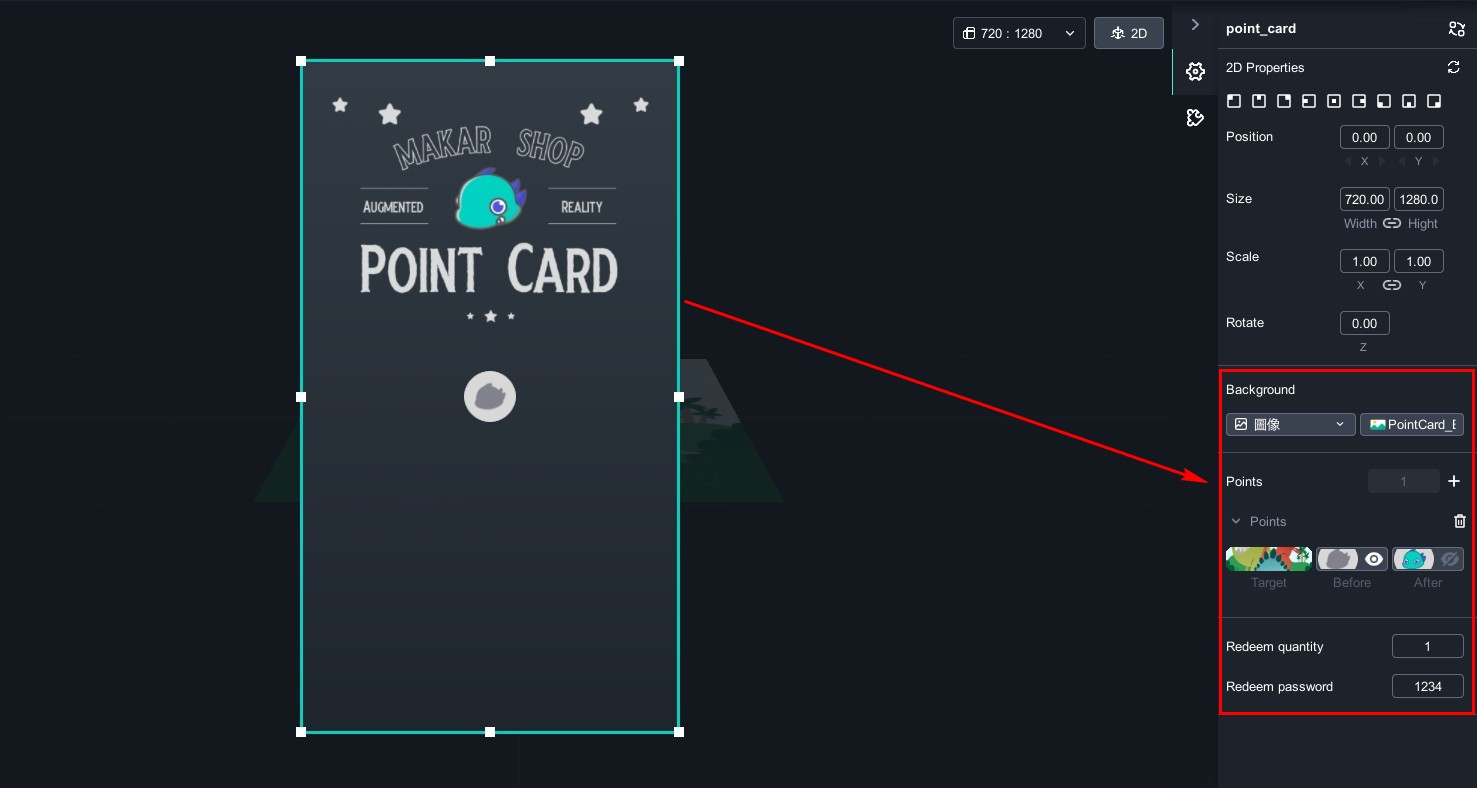
The point card module can be customized according to your needs, such as changing the background image of the point card, changing the backgrounds before and after redemption, and uploading materials to MAKAR for these changes. Due to the large number of images, it is recommended to create folders on your computer in advance and upload them to your resource library for better classification and organization. For the process of uploading images to the material library, please refer to the tutorial "Add Your Resources".
Next, we will explain how to change backgrounds, add points, and target images. For this tutorial, you can click "Point Card Module Materials" to download related materials.
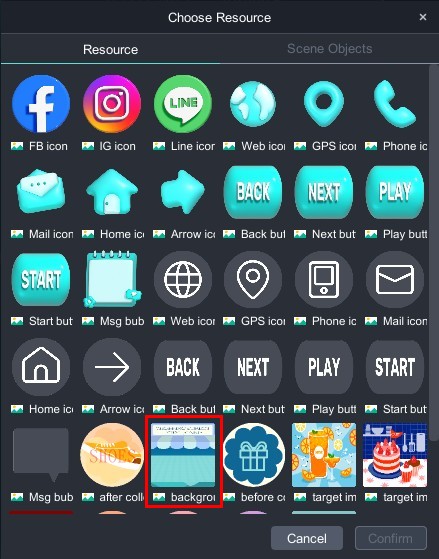
1. In the background section on the right, click the image option on the right, and a window will appear to select the material. Choose the background image you want to replace.

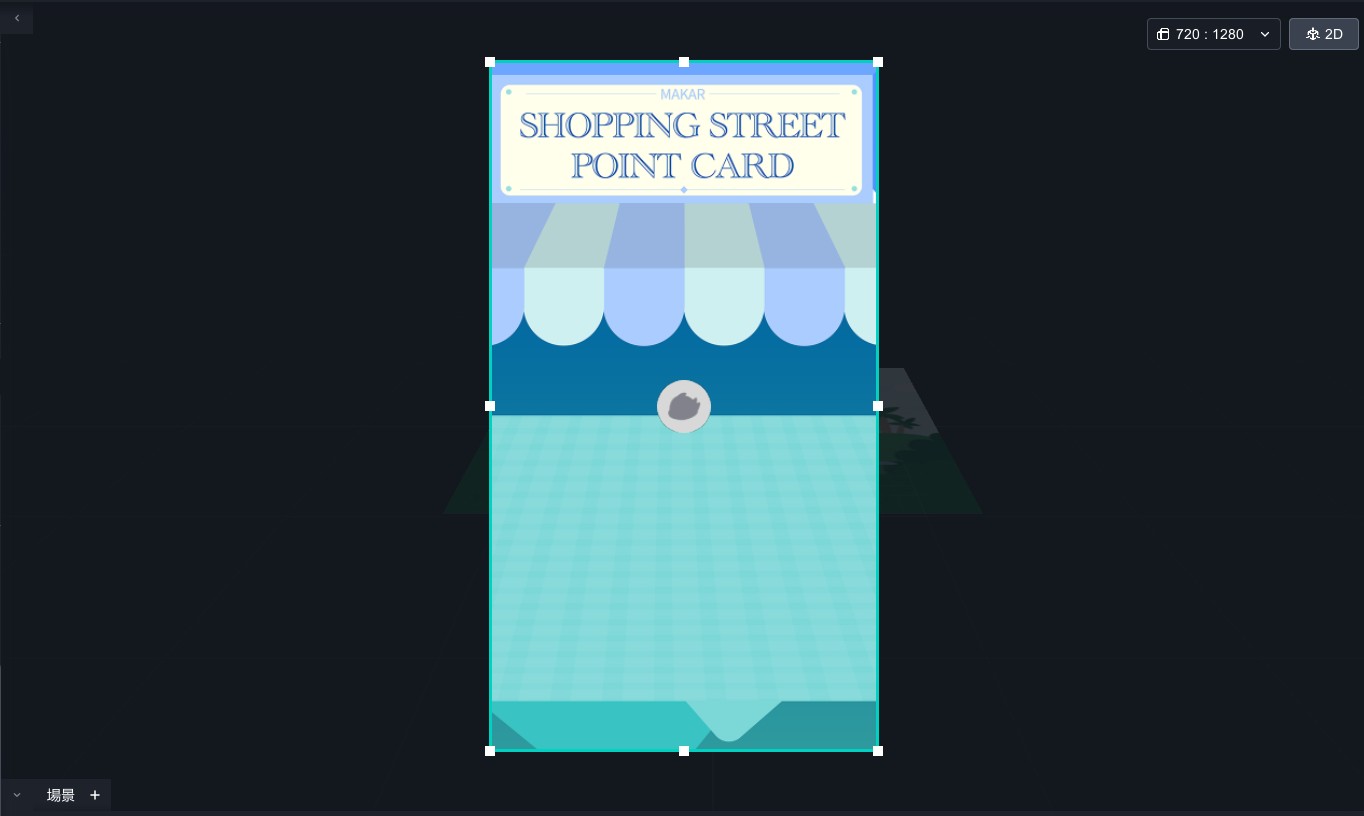
After changing the background:
Add Points / Add Target Images / Change Points Background
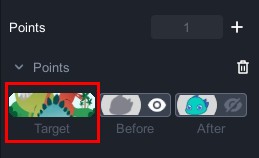
1. In the points section on the right, click the "+" to add points.
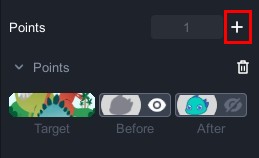
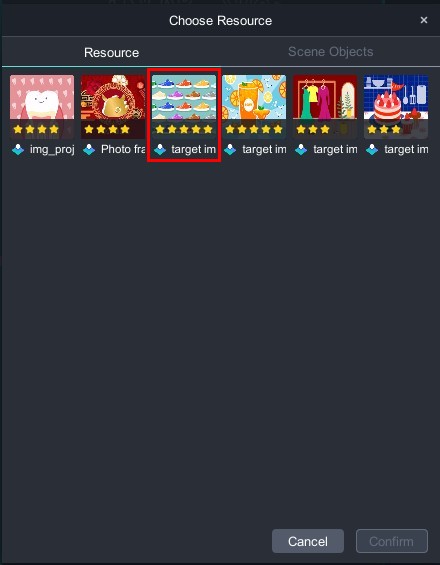
2. Click "Target", and a window will appear to select the material. Choose the target image for this point. If you need to upload a new target image, you can click "Image Target" → "Add Target" on the left to upload directly.
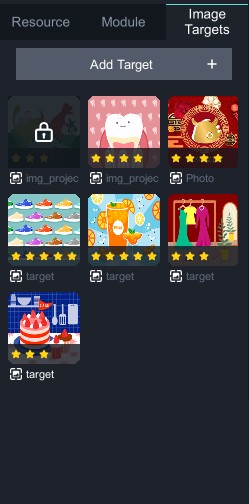
Four target images have been added:
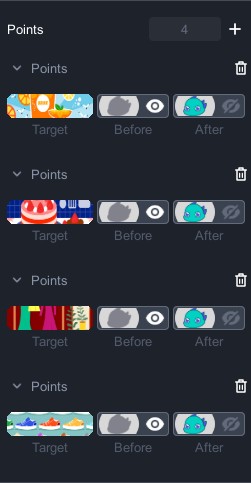
3. Click "Before" and "After" respectively, and a window will appear to select the material. Choose the background you want to replace.
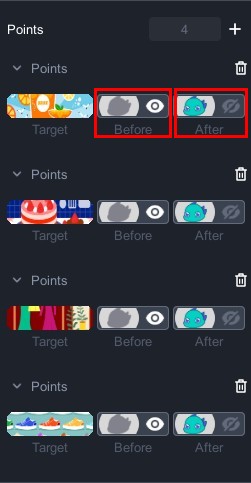
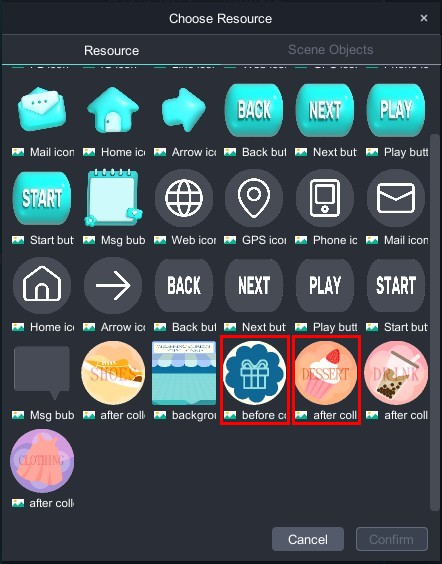
4. Add points according to your needs and use the mouse to drag and scale in the editing scene to easily arrange the layout.
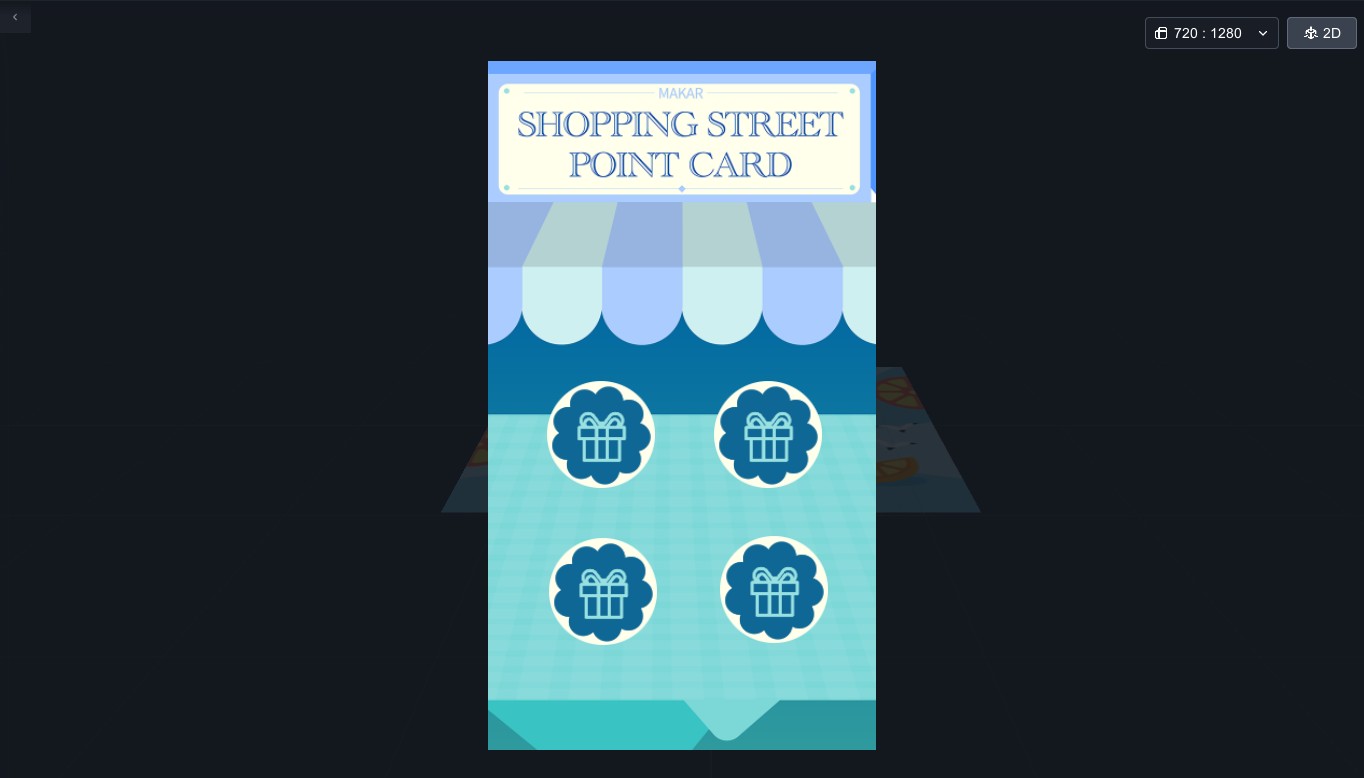

- Redeem quantity:Set the number of points needed to trigger the reward redemption function according to your needs, with a minimum of one point.
- Redeem password:Set a redemption password that triggers when the user collects enough points. If the number is deleted, there will be no password required.
1. Each account can only play the point card module once.
2. MAKAR Project Version of STANDARD/ADVANCED/STUDIO allow you to log in to the backend to view the project's redemption status.
3. If the user plays without logging in, they can play again after deleting and reinstalling MAKAR Viewer. If you have further feature requirements, we recommend contacting our specialists to discuss customized services.
