-
- The first AR coloring card in Taiwan- Bring 3DMommy's image into to life
- Bayer integrates MIFLY AR Technology , teach you how to help your dog relax
- Halloween combines with AR, shining New Taipei City
- Mei hao dahu
- Taiwan Railway celebrates 132nd anniversary exhibition, create immersive AR interactive APP together with MIFLY
- Zhu Ming Art Museum X MAKAR launches WEB AR painting experience
- CTV celebrates its 50th anniversary, especially using WebAR technology to add joy!
-
- AR Envelope for Beginner –New Year Rabbit
- AR Envelope for Advancedr –Lucky Rabbit
- 【XR Project Tutorial】How to Create the Keelung Harbor Whale Shark AR Experience? Use MAKAR to Create an AR Experience with Whales Soaring in the Sky!
- MAKAR Magic index
- Spring Festival AR Animation Tutorial
- Logic-Macaron AR Animation
- MAKAR Mask project
- MAKAR Santa Claus - boning
- Metaverse Draw Lots-Using Variable and Lists of MR Project
- Use MAKAR to learn physics-Let's make an AR cannon!
- Cooperative Learning in MAKAR_Portal
-
- [3A Emerging Technology Center] Lantern Festival sky lantern wishing pool, MR virtual world is at your disposal
- 3131922-5G New Technology Learning Demonstration School Series Study
- 3088204- XR Practice Application (Advanced)
- 3088200- XR Practice Application (Beginner)
- 3124796-VR reality design practical application course (online course)
- Beishi Yanxizi No. 1100712009
-
- MAKAR Flash - Brain and Speed Challenge! When MR Paper Sumo Meets NPC Battle Mechanism
- MAKAR Flash - 3D Creation Made Easy: Animal Music Box Quick Workshop
- MAKAR Flash-Dragon Boat Festival XR Game Creation Crash Course: Mastering MAKAR's Latest Features with AI-Assisted Extended Reality
- MAKAR Flash -One-hour 3D Material Specialization Class, the philosophy that must be grasped for XR creation
- MAKAR Flash-How to integrate AR/VR into teaching with 5G? Quickly build your exclusive XR teaching materials!
- MAKAR Flash-Creating Your Own 3D Material Library with Your Phone? MAKAR 3D Scan New Application Analysis!
- MAKAR Flash-How Can Beginners Quickly Recreate Unity AR/VR Projects?
AR Comic Book - Cartoon Singer
- 2020-02-28
- by 潛能盒子-吳崇瑋
●3DMaterials_FBX
●Online 3DMaterials
●MP3
Limit:
image: JPG, GIF & PNG(Maximum file size5mb)
3DModel FBX (Maximum file size10mb)
video: MP4 (Maximum file size 20mb)
sound: MP3 & WAV(Maximum file size 5mb)
panorama JPG(Maximum file size 5mb)
panorama MP4(Maximum file size 20mb)
Youtube URL: Upload to Youtube and set to public(no limit)
Materials link
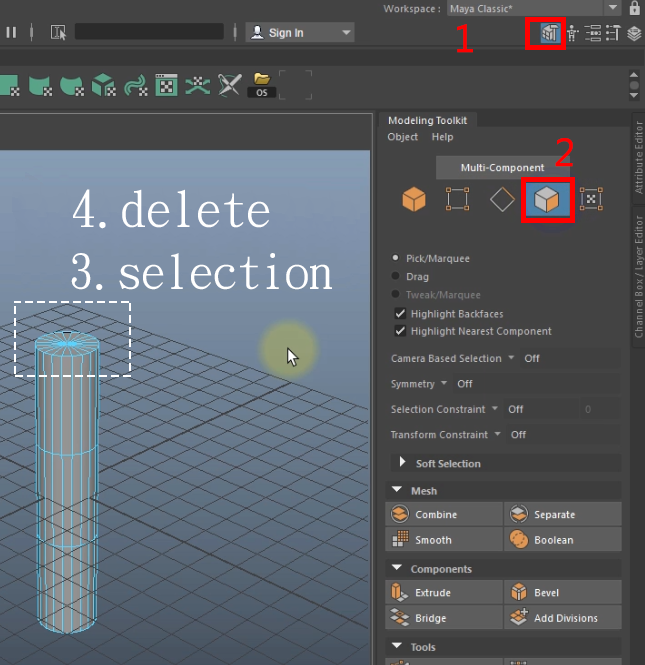
1.Make a lighting model
Find Polygon Modeling on the left top, and then double click the left-click on the cylinder。
Edit size of height and height divisions, and then create the cylinder.

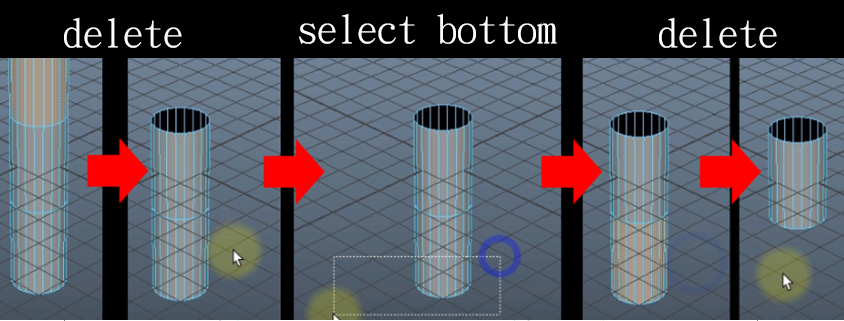
According to the step on the image:1.Open the modeling toolkit 2.Switch to the face mode 3.Select the parts you don’t need 4.Delete them.

Use the same way to delete the bottom of the cylinder, leave the center part
Select the Point mode on the Modeling Toolkit (second button from the left)。
Select whole points on the top.
Switch to Position mode(hotkey:W),grab the green arrow to pull up the y-axis.
Switch to Scale mode(hotkey:R), grab the pivot cube to scale up.
Last, click the Object mode button to cancel the edit mode.


2.Make a texture for light
Press right-click to find Assign Favorite Material -> lambert
Find Lambert 2 on the right, and click the icon next to Color (mouse position).
A floating window will pop up at this moment, select File.
Click the icon next to the image Name in the File to find the texture's position.
Click 6 to see the effect of this texture, but it looks a little translucent because the texture didn’t fit well.
Justify texture on Windows->Modeling Editors->UV Editor.
Select point mode in UV Editor, and edit the point. Press R key to switch to Scale mode.

Adjust the map range of the model, don’t exceed the maximum range of the arrow in the image.
Final result will be the same as the image. The map can fit evenly on the model.
Last, remember to switch to the object mode by clicking the left button.
To make animation more convenient to make later, press the D key as selecting the object to switch to pivot point edit mode.
Grab y-axis, move the pivot point toward the bottom (do not touch the lever of the circle). When you're done, press the D key to cancel the edit mode.
Finally, click File ->Export Selection to export your file.
Remember to check Embed Media so that the texture can be exported with the file.


3.Make an animation for light object
Click the attribute button on the top right in Maya.
Set the total length of the timeline to 30.
Move the key position to the first frame.
Set Rotate Z value to 40 and press Enter. Select the cylinder model on the scene and press S key to record the animation, and then move key to the 30th frame.
Press S again to record.
Click the auto record button on the right bottom.
Move the key to the 15th frame, and set Rotate Z value to -40. Press enter, the 15th frame will be recorded automatically.
Finally, click File ->Export Selection to export file.


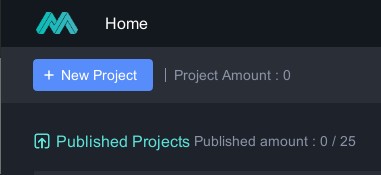
4.Create MAKAR project
Create a new project on the top left.
AR ->Blank project. Select AR Marker and give appropriate project names then upload the file. Next, select Target Image, and select the uploaded target image, click ok.

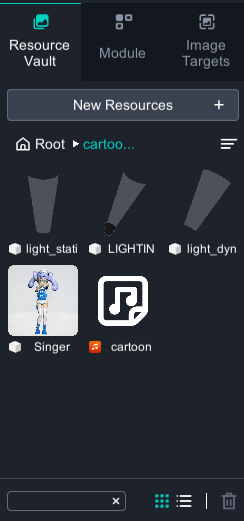
5.Import resources
The required resources are as follows.
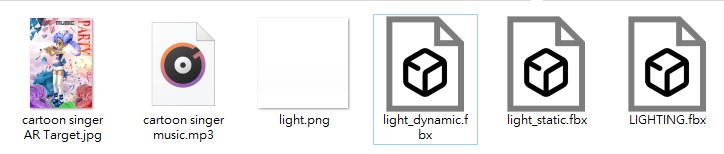
Select the 3D model in the Resource Vault, and then upload our prepared model.
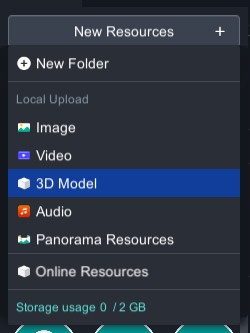
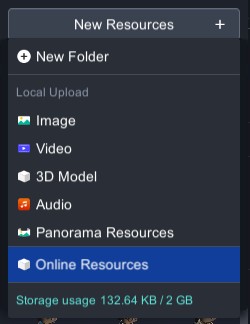
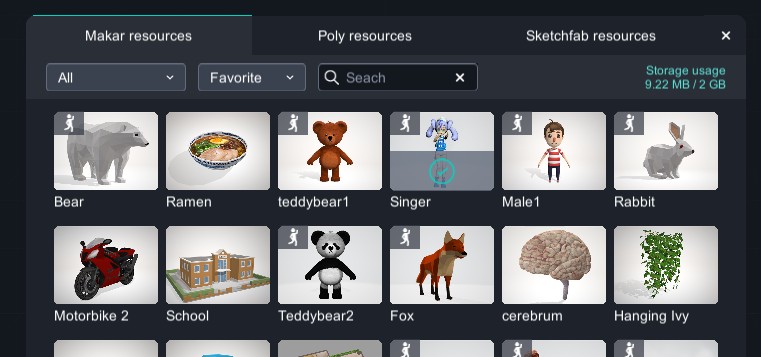
Use the same way to execute online resources in the Resource Vault.
Select the "singer" model in the pop-up window, and then confirm.
Import audios, too.
Finally, these will be the whole materials you got.
6.Decoration and edition
Use the same way to drag the light we made to the scene, and find the material attribute on the right side, set this material to mask (light).
You’ll see the light beam effect.
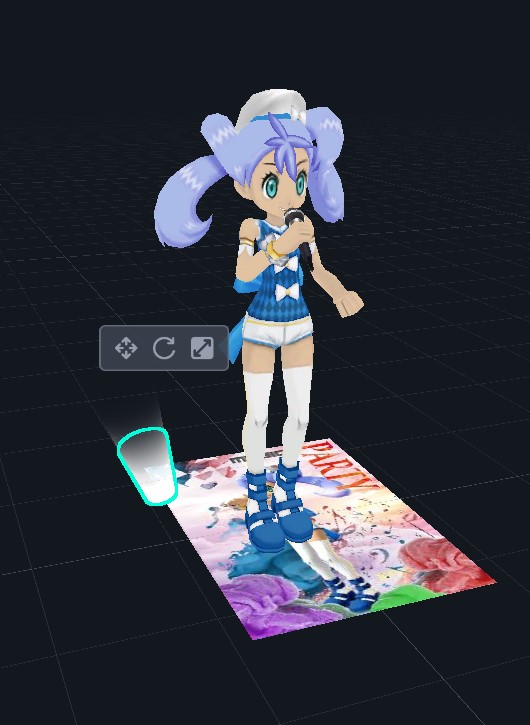
Drag other lights in the same way onto the scene and make the same settings to get the stage light effect.
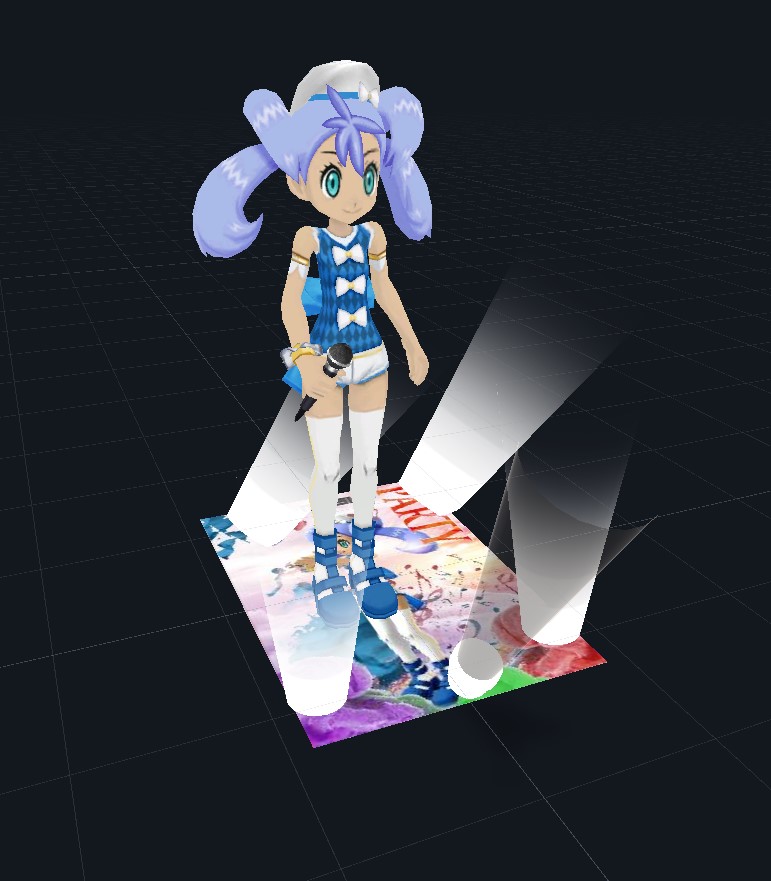
6.Let’s take a look
Open App: Makar on your mobile, input ID:Class03,remember to select AR Marker. Press start to scan, and you’ll see the result.