【XR Project Tutorial】How to Create the Keelung Harbor Whale Shark AR Experience? Use MAKAR to Create an AR Experience with Whales Soaring in the Sky!
【Project Demonstration Tutorial】How to Create the Keelung Harbor Whale Shark AR Experience? Use MAKAR to Create an AR Experience with Whales Soaring in the Sky!
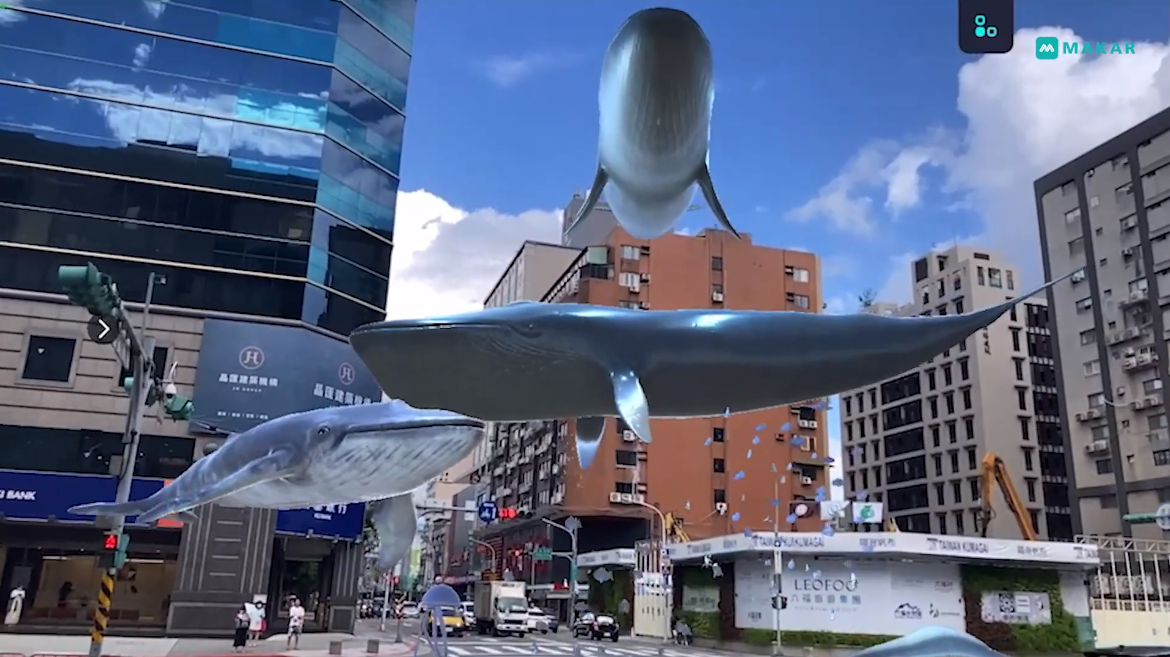
Have you seen the news about the AR whale shark attraction at Keelung Harbor? The "Swimming with Whale Sharks in AR" project at Keelung Lido Butterfly Garden allows visitors to experience whale sharks and various marine creatures soaring in the sky, attracting many to visit and take photos, making it not only a news highlight but also a tourist hotspot. So, let's try to create a similar effect using MAKAR Editor! We will use materials provided by the MAKAR resources to demonstrate how to create similar AR scenes. If you are in the tourism industry, you definitely shouldn't miss this, as the next viral AR attraction could be at your location!
▍Step 1: Collect Materials & Place Objects
● Sketchfab Resources
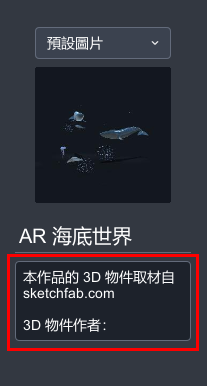
In the past, we dived into a virtual underwater world in the AR Virtual Underwater World - Coral Reef project. This time, we want to recreate a more realistic marine ecosystem. First, we establish a space recognition project and find "Sketchfab Resources" in the built-in material column in MAKAR Editor to start selecting materials.
Sketchfab is a platform where creators can share and publish 3D models. You can browse Sketchfab models and download them directly through the MAKAR Editor or download 3D files from the Sketchfab website and import them into MAKAR. The 3D models downloadable in the MAKAR Editor are generally within the scope of CC Creative Commons license, meaning that the original creator must be credited. It is recommended to note the name in the project description to show respect for the creators!
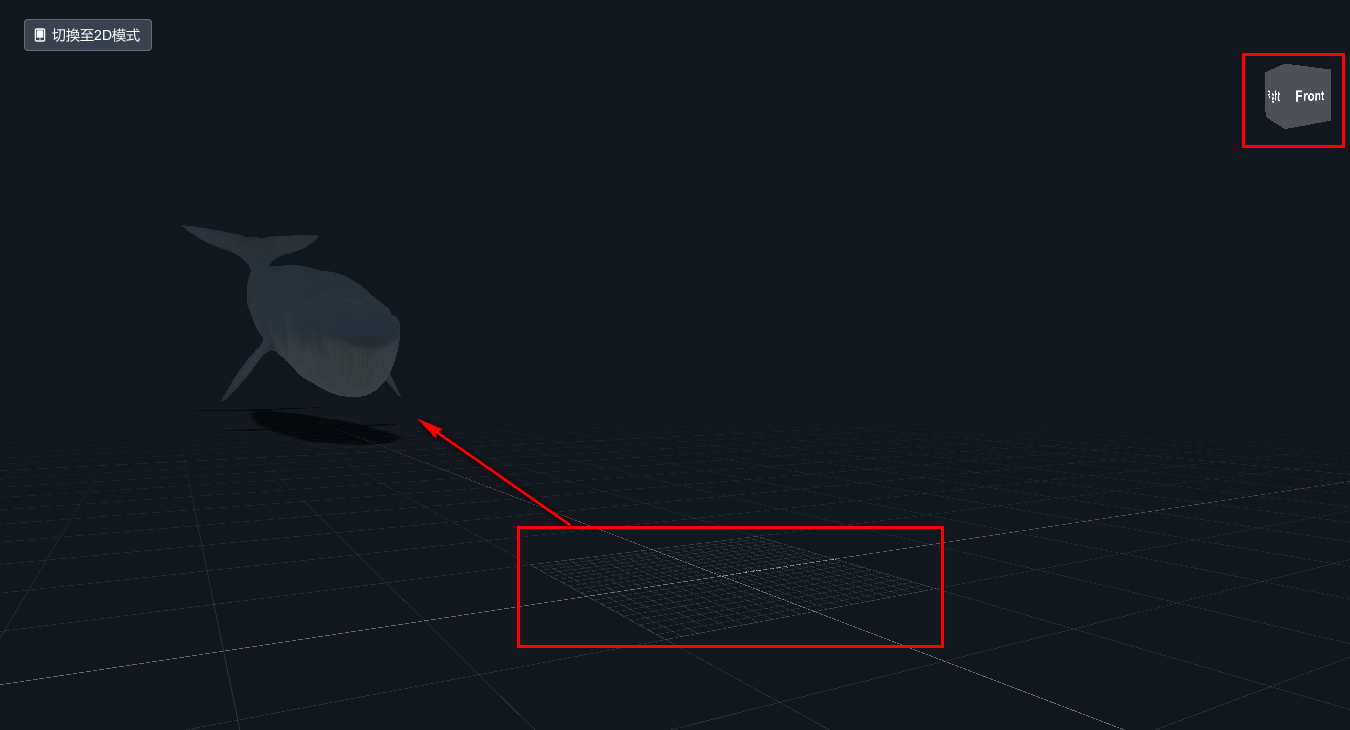
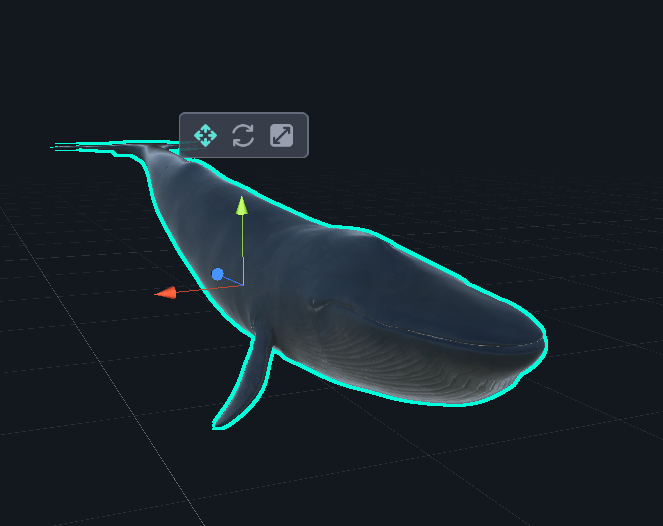
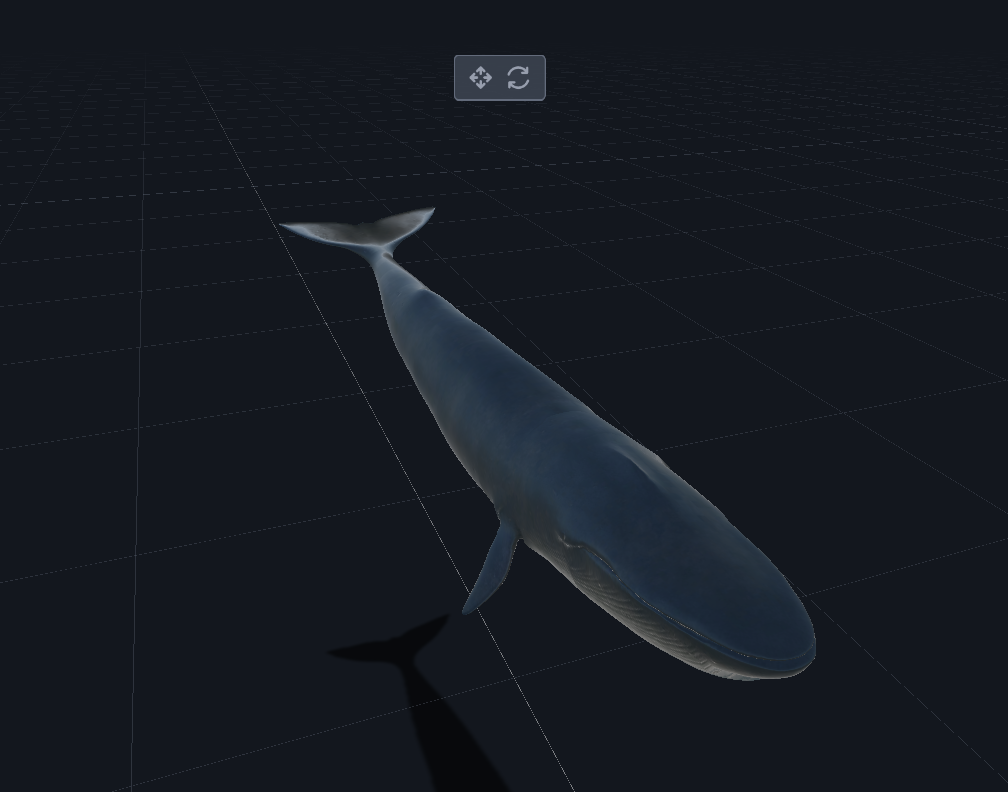
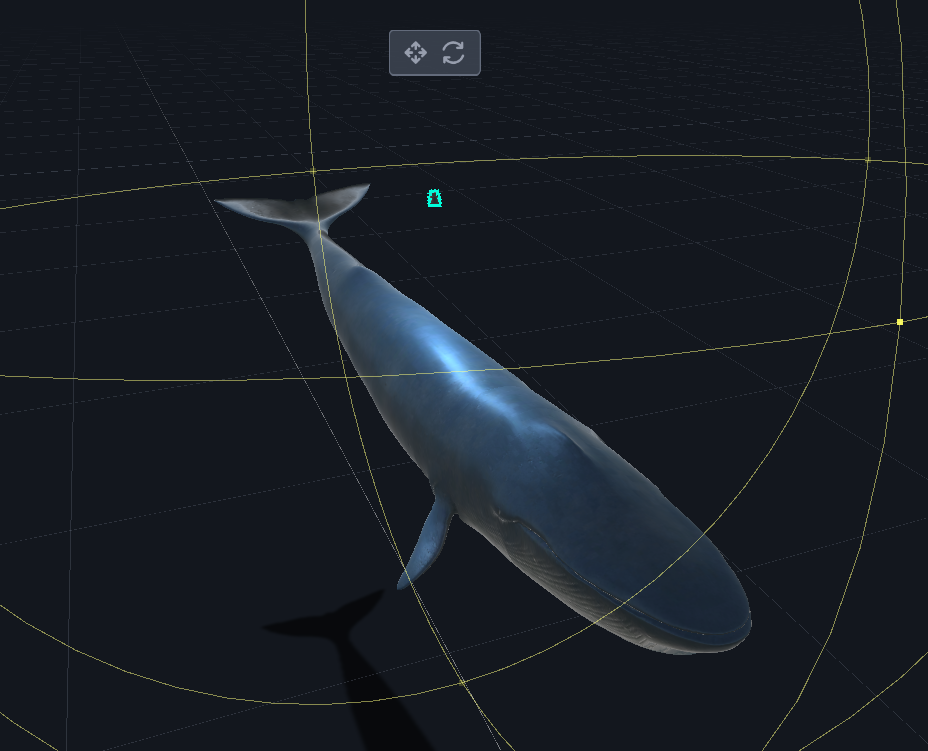
● Object Placement: Think About the Relative Position of the Objects to the Viewer
The closer to the center point of the grid, the closer to the viewer's position. Therefore, to make it easier for the user to view, you need to carefully consider the placement of objects. In this project, to make the objects intuitively "appear in front of the viewer" when scanning, we can place the objects behind the center point so that when the viewer opens the project, they can quickly see many marine creatures swimming right in front of them.
▍Step 2: Set the Movement Trajectory of the Creatures
After placing the objects, it's time to set their movement trajectories! Here we use MAKAR Editor to control the actions and movement trajectories of each biological object.
● Logic of Blockly Arrangement
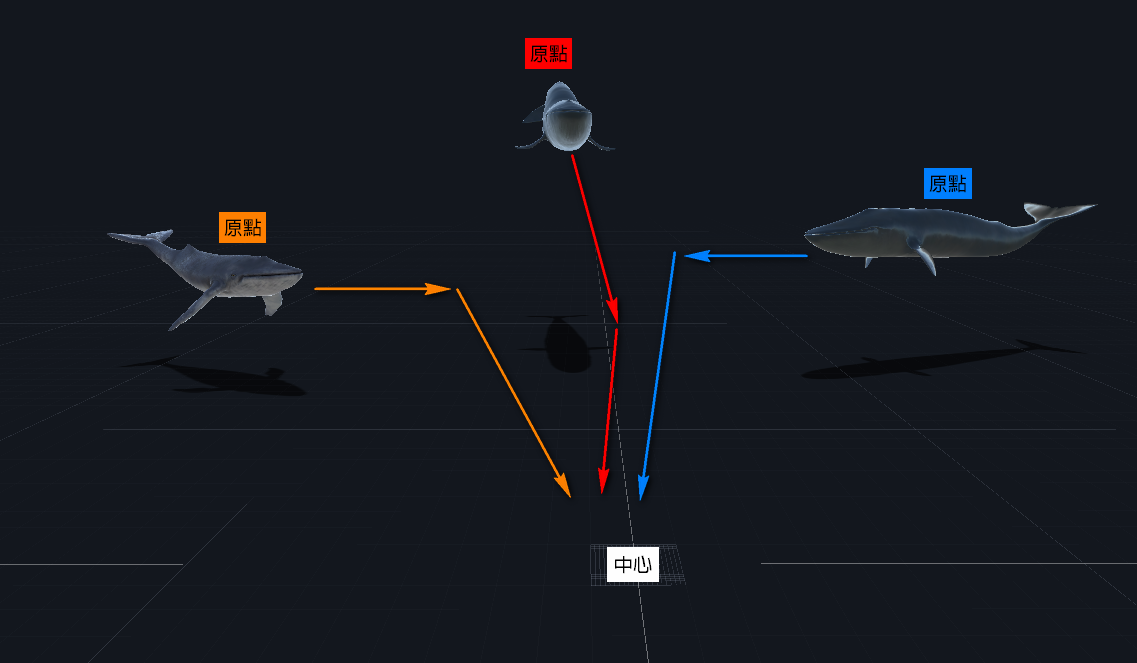
In this demonstration case, we mainly place the creatures on the left, behind, and right of the center point and hope to create the effect of "three objects swimming towards the center at different speeds." To prevent the creatures from stopping moving after completing the movement, we need to set the objects to "repeatedly swim in a fixed area."
Therefore, we need to set the objects' movement in the Blockly as follows: ① Move from the object's origin point to the center ② Continue swimming afterward
● Blockly 1: Move from the Object's Origin to the Center
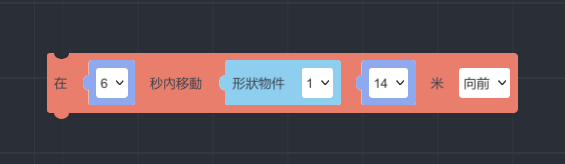
Drag the "Move shape object ... meters forward in ... seconds" block from the "Transform" section on the left list, set the completion time of the movement, which object to move, the moving distance, and the moving direction, to make the whale approach the center from its original position.
● Blockly 2: Continue Swimming
Of course, the whale's swimming won't be in a straight line; otherwise, it will look stiff. Therefore, we need to set the whale to naturally turn when it gets close to the center.
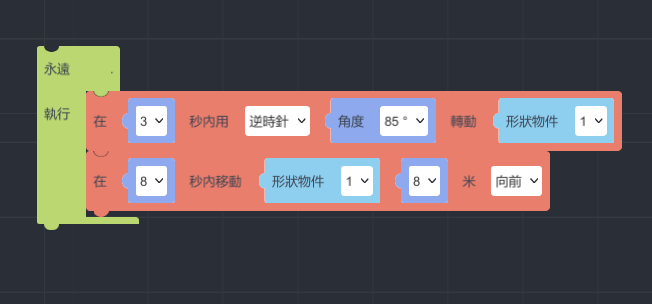
Drag the "Rotate shape object ... degrees clockwise in ... seconds" block from the "Transform" section, and place it under the logic block of "Move from the object's origin to the center," setting the completion time of the rotation, clockwise/counterclockwise rotation, the angle of rotation, and the object item to rotate.
The numbers in this project are for reference only. You need to try multiple times according to your preferences to find the most natural or suitable parameters for your creation needs!
● Blockly 3: Set to Run Forever
● Final Effect
▍Step 3: Enhance the Realism and Visual Effects of the Creatures
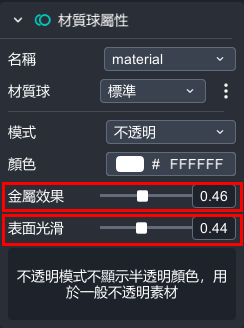
Since the textures of the downloaded materials vary in style, we can adjust the visual effects of the materials to unify the appearance of the creatures and improve their texture, making them look more vibrant!
● Adjust Material Properties of Objects

● Add Point Light
Before adding the Point Light.
After adding the Point Light.
▍Step 4: Add Background Music and Interactive Sound Effects!
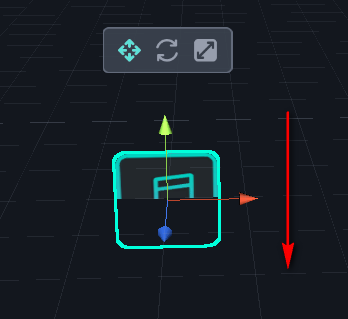
● Set Music Object
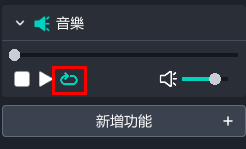
Drag the pre-selected ocean background music material into the editor. Although the music icon won't be displayed during the AR presentation, to prevent the music object from affecting the editing process, you can hide the music icon below the horizontal plane and set it to loop playback, allowing the music to continuously play during the experience.
Hide the icon below:
Loop playback music:
● Creature Sound Effects
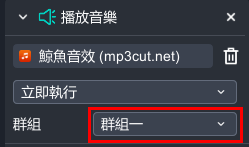
Since the sound effects for all the creatures in this project are the same, to avoid the viewer hearing the same sound effect repeatedly when clicking multiple creatures, which could ruin the project experience, we first set all the creature objects to "Group One," and select Group One in the sound effect setting column, ensuring only one sound effect is played at a time, preventing an annoying repetition of the same sound.
Select group in the sound effect column:
▍Finally, Publish the Project and Start the Experience!

Did you learn more about using MAKAR Editor from this demonstration project tutorial? In this project, we not only demonstrated the production of underwater world project content but also focused on familiarizing with logic block settings for object movement, ideas for object placement, and options for adjusting object materials. These are useful techniques applicable in various types of projects, so practice and understand them well.
Feeling inspired and motivated to create something with MAKAR? Create a Jurassic Park or a fantasy experience of angels descending? Start your XR creation with MAKAR Editor now!
Haven't downloaded MAKAR Editor yet? Go download it now and experience the magic of AR/VR/MR creation! 👉Free Download MAKAR Editor
【Watch More Other Demonstration Project Tutorials】
➤ MAKAR Magic Introduction Catalog
➤ MR Sky Lantern Tutorial
➤ Chinese New Year AR Animation Tutorial