Login
Sign up
Product
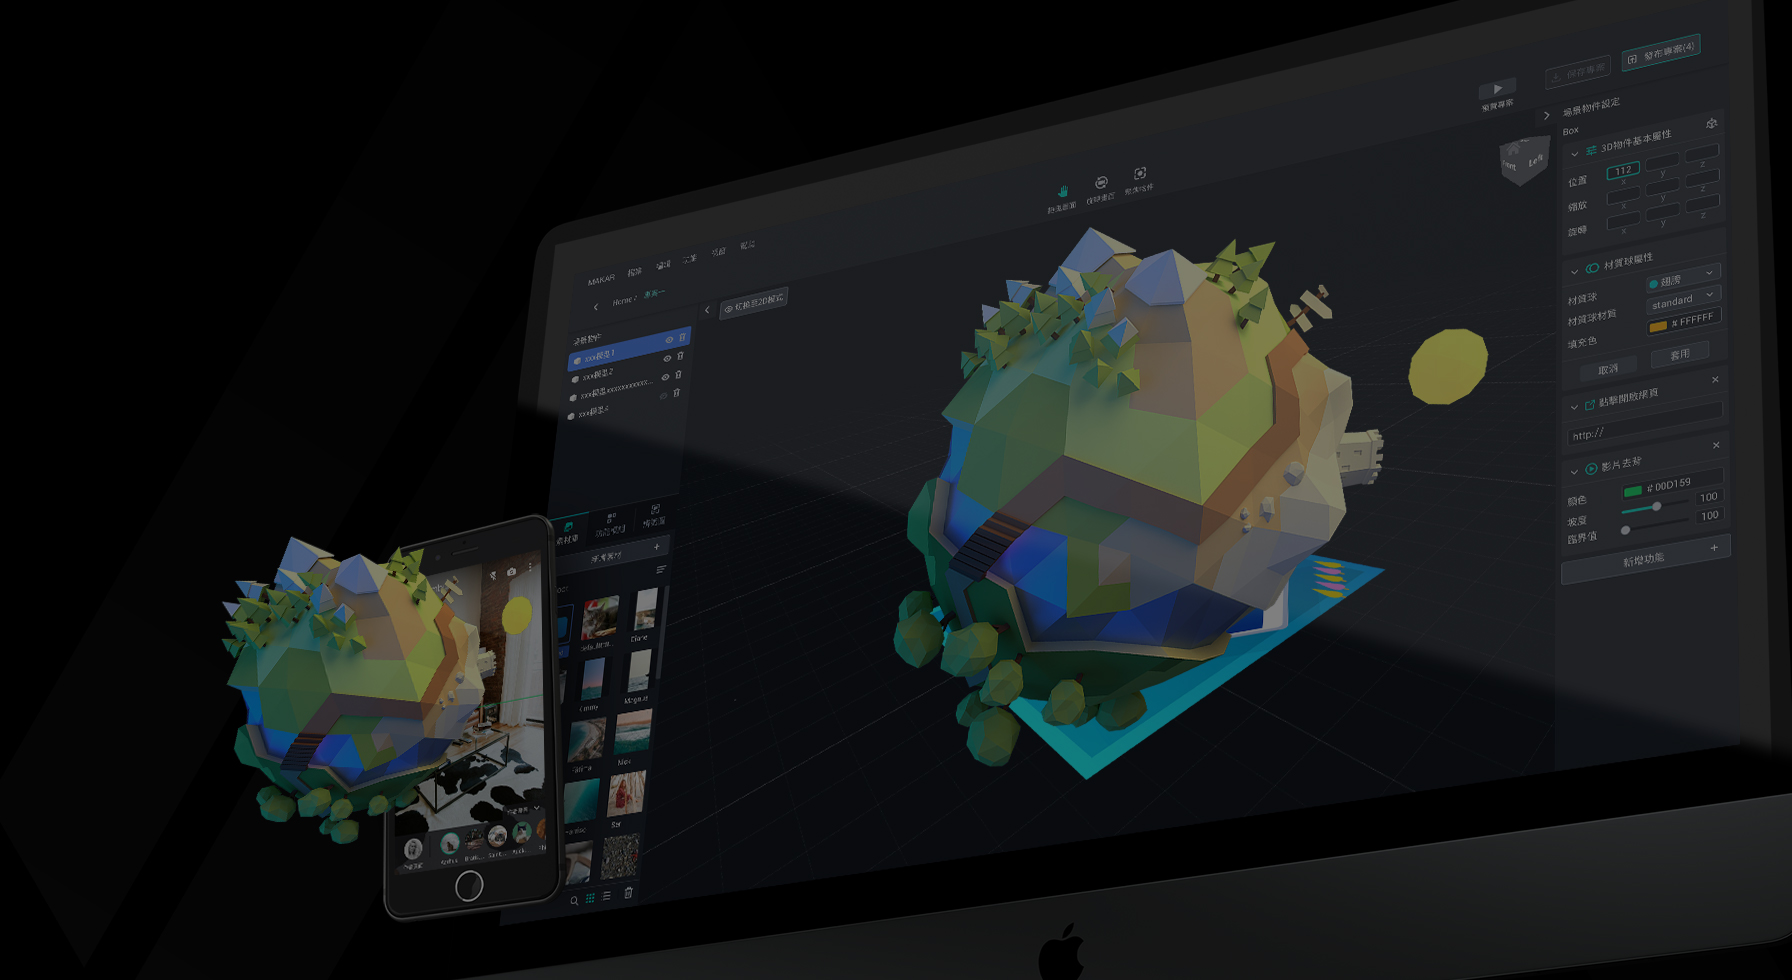
MAKAR XR Editor
MAKAR XR APP
For developers
Web AR / VR
MAKAR for schools
Pricing
Purchase Plan
Purchase Points
Tutorials
Tutorials
FAQ
Blog
Contact us
Get in touch
Find a distributor
Download
Language
繁中
English
日本語
한국어
Login
Sign up
Language
繁中
English
日本語
한국어
Tutorials
Real-world Cases and Outcomes
2023 XERCC Works Selection
② Guardian Breeder: Guardians of the Plant Kingdom
Campus Case Study
Nan-Gwang Elementary School's 84th Anniversary
109 Changhua Pinghe AR Graduation Ceremony AR Shows Teaching Achievements
Marketing Case Study
The first AR coloring card in Taiwan- Bring 3DMommy's image into to life
Bayer integrates MIFLY AR Technology , teach you how to help your dog relax
Halloween combines with AR, shining New Taipei City
Mei hao dahu
Taiwan Railway celebrates 132nd anniversary exhibition, create immersive AR interactive APP together with MIFLY
Zhu Ming Art Museum X MAKAR launches WEB AR painting experience
CTV celebrates its 50th anniversary, especially using WebAR technology to add joy!
Project Results
北科互動所-5-泡麵三分鐘
北科互動所-2-moe moe chu
北科互動所-1-皮卡丘
National Pingtung University-temperature point card App
CJCU- Pingtung Park real escape game
NTNU Search monitor
Digital Knowledge Concepts
Basic Concepts of Metaverse
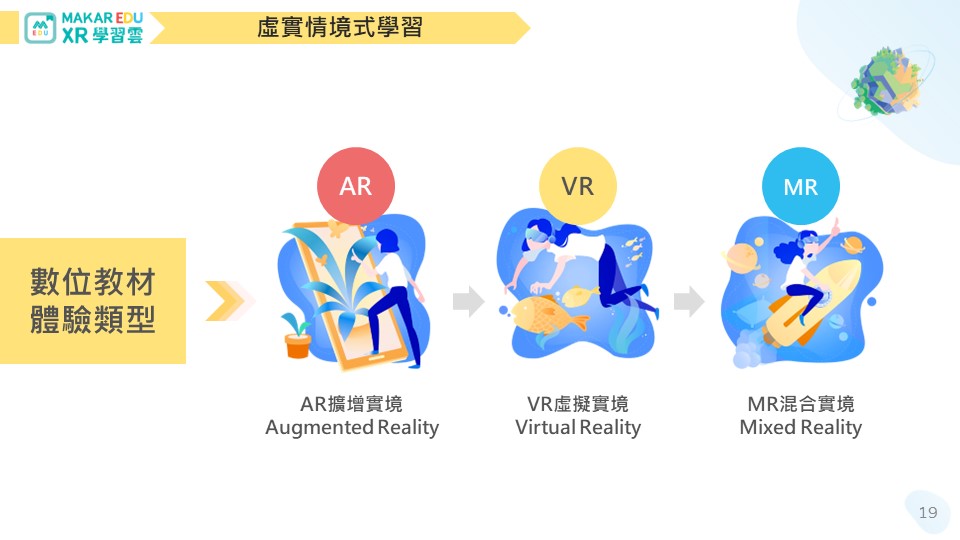
Multimedia Applications in the Metaverse Format Analysis
3D Analysis and Applications
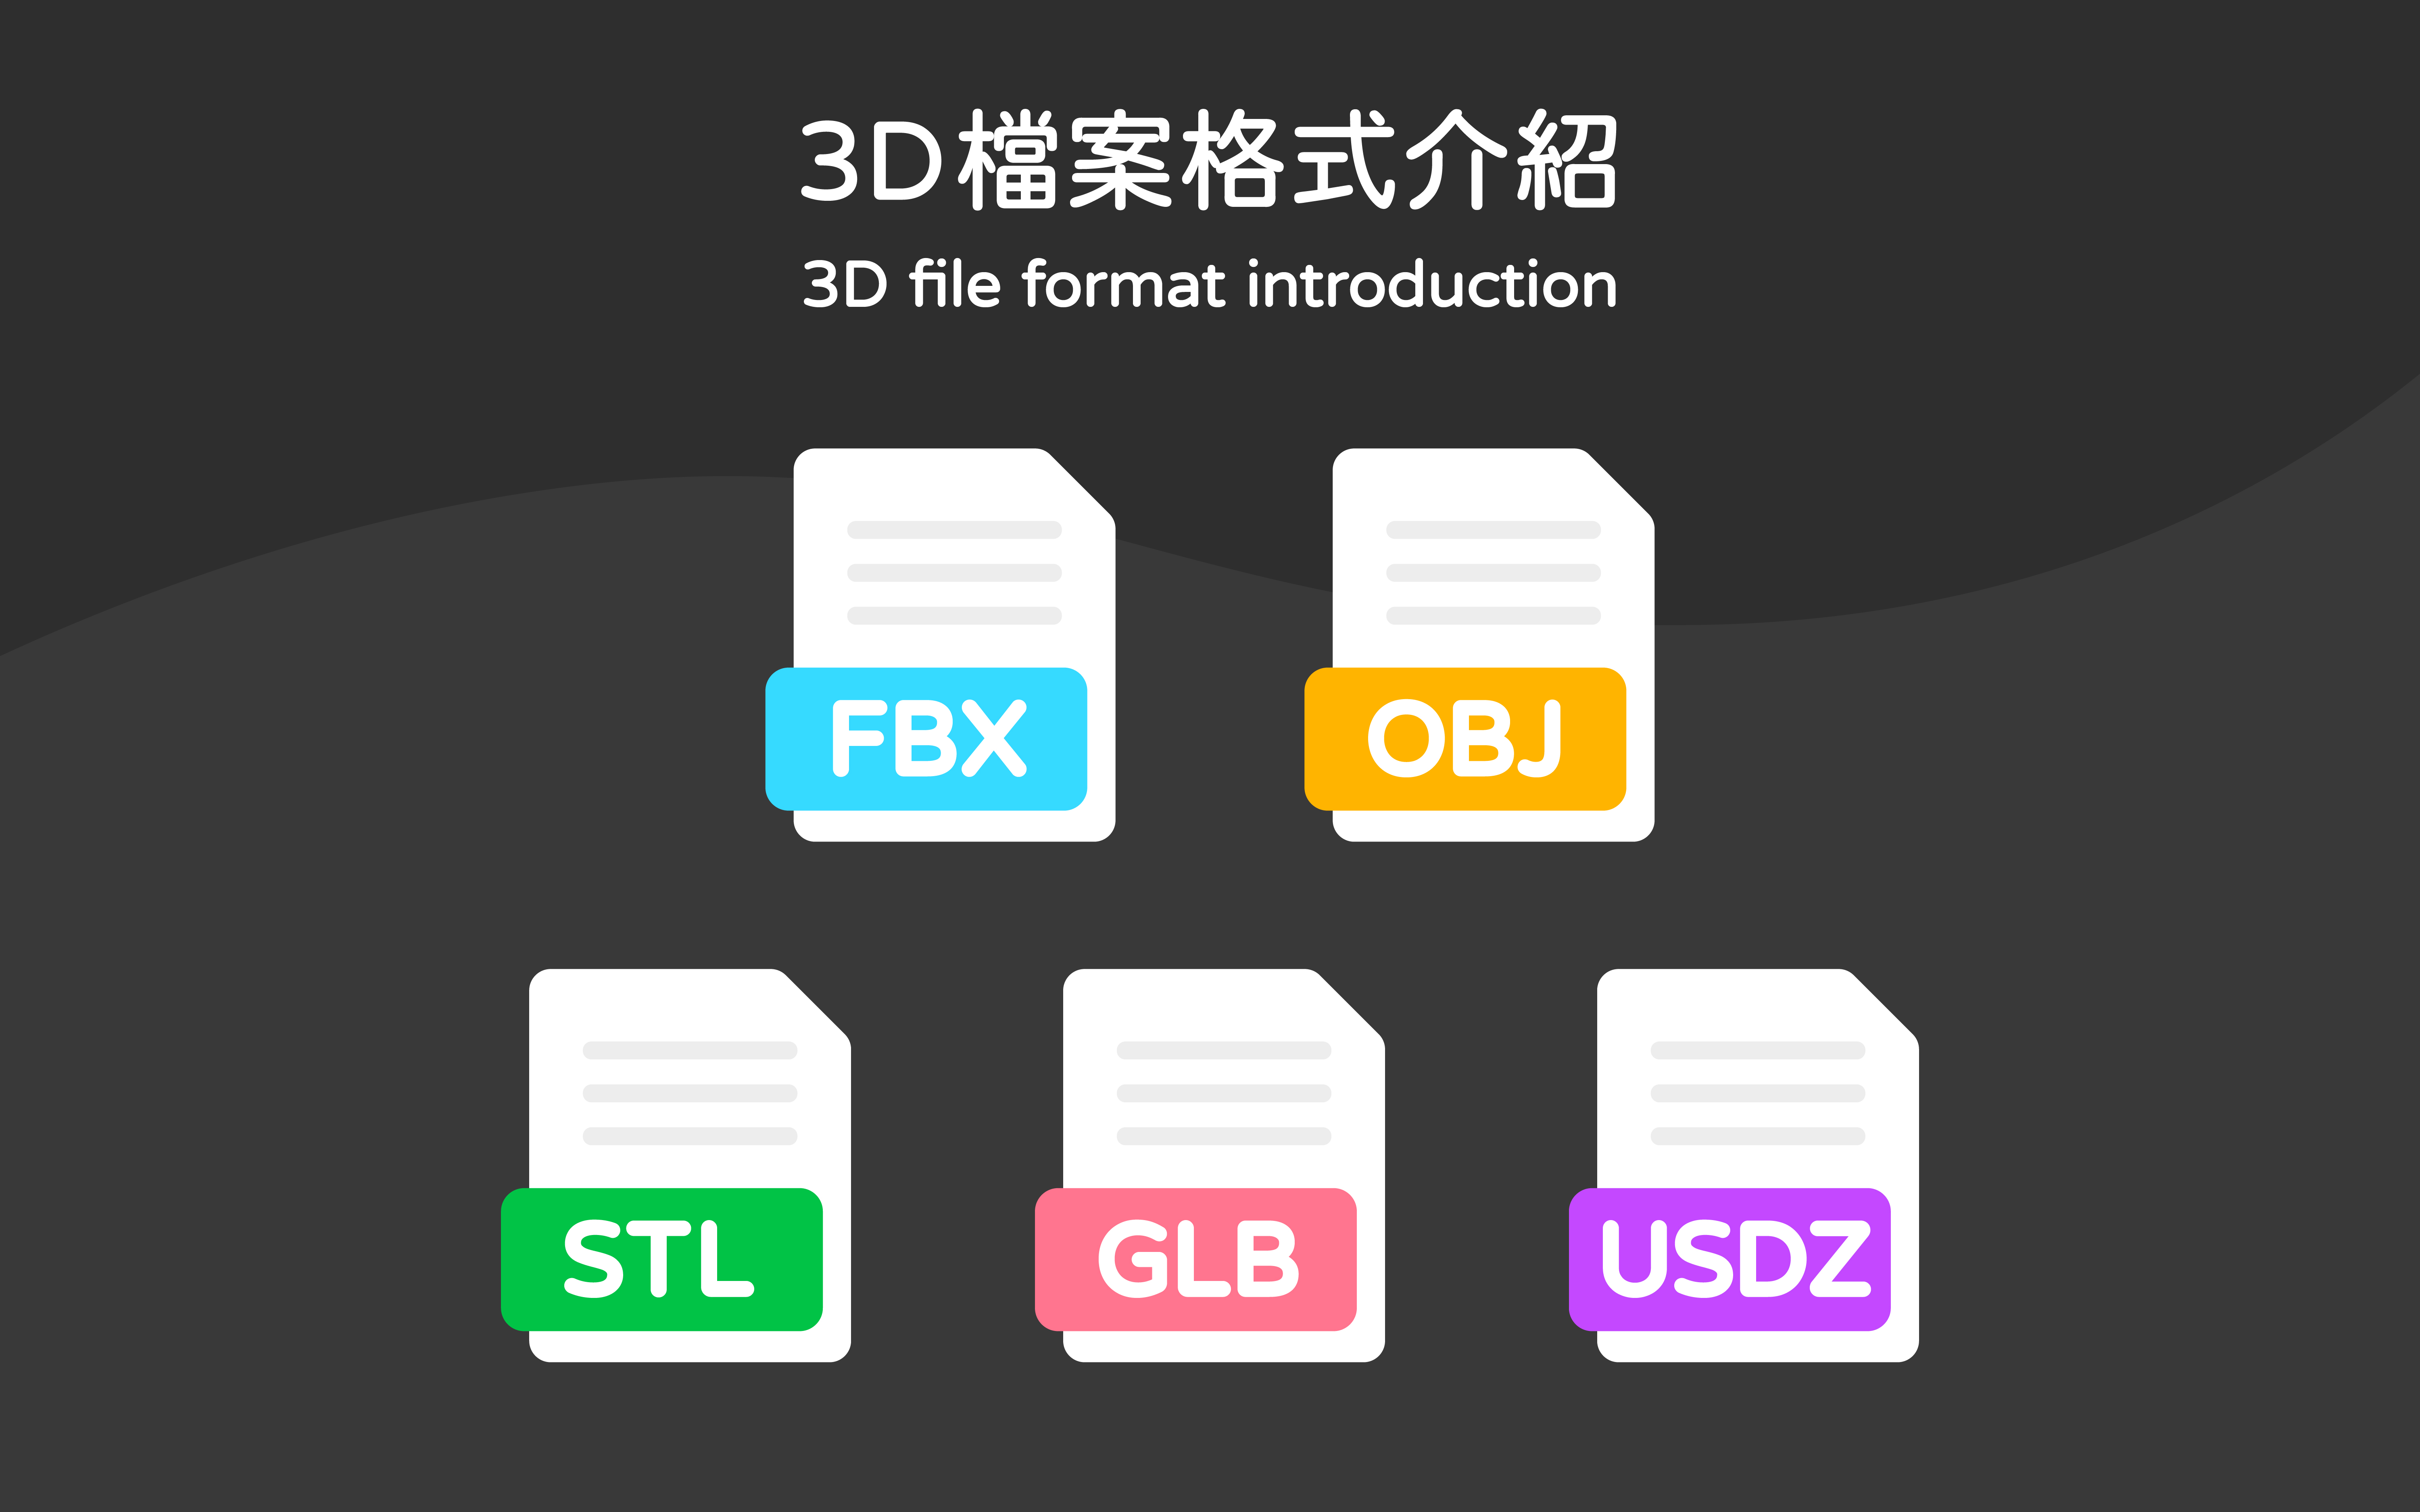
Understanding GLB, OBJ, STL, and Other Common 3D File Formats, with Blender Conversion Tutorial Included!
MAKAR Project Teaching
AR/VR Basic Projects
MAKAR Making an AR language learning card
Tutorial of 3D AR Dinosaur Oreo!
AR Image Recognition-English card
AR 3D Zoom
AR Comic Book - Cartoon Singer
VR Tour-Piazza San Marco
VR Treasure Hunt Game-Finding puppy
AR Historical relics card-Terracotta Warriors
Themed Project
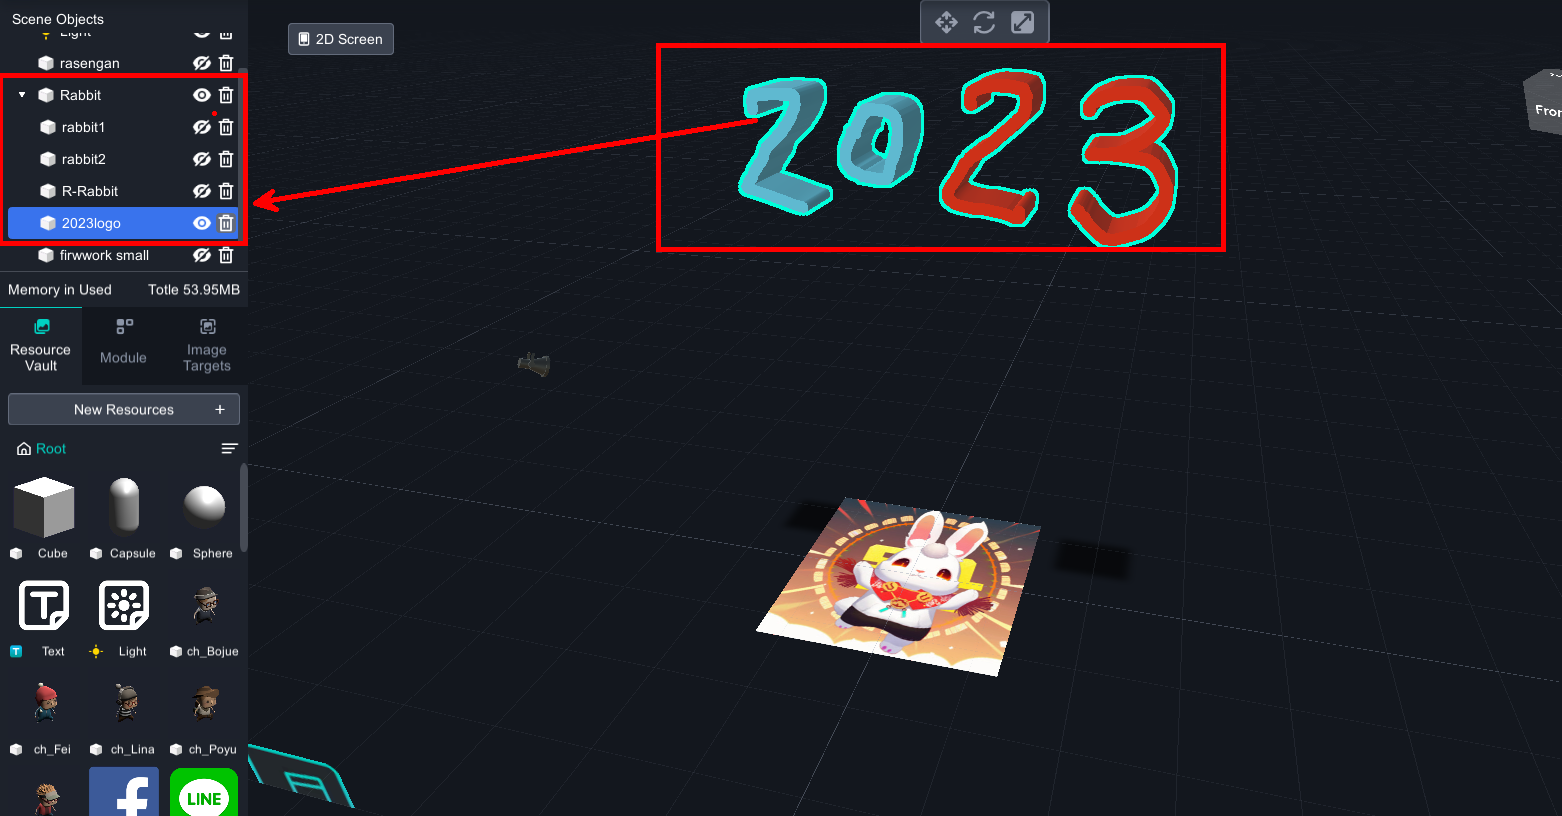
AR Envelope for Beginner –New Year Rabbit
AR Envelope for Advancedr –Lucky Rabbit
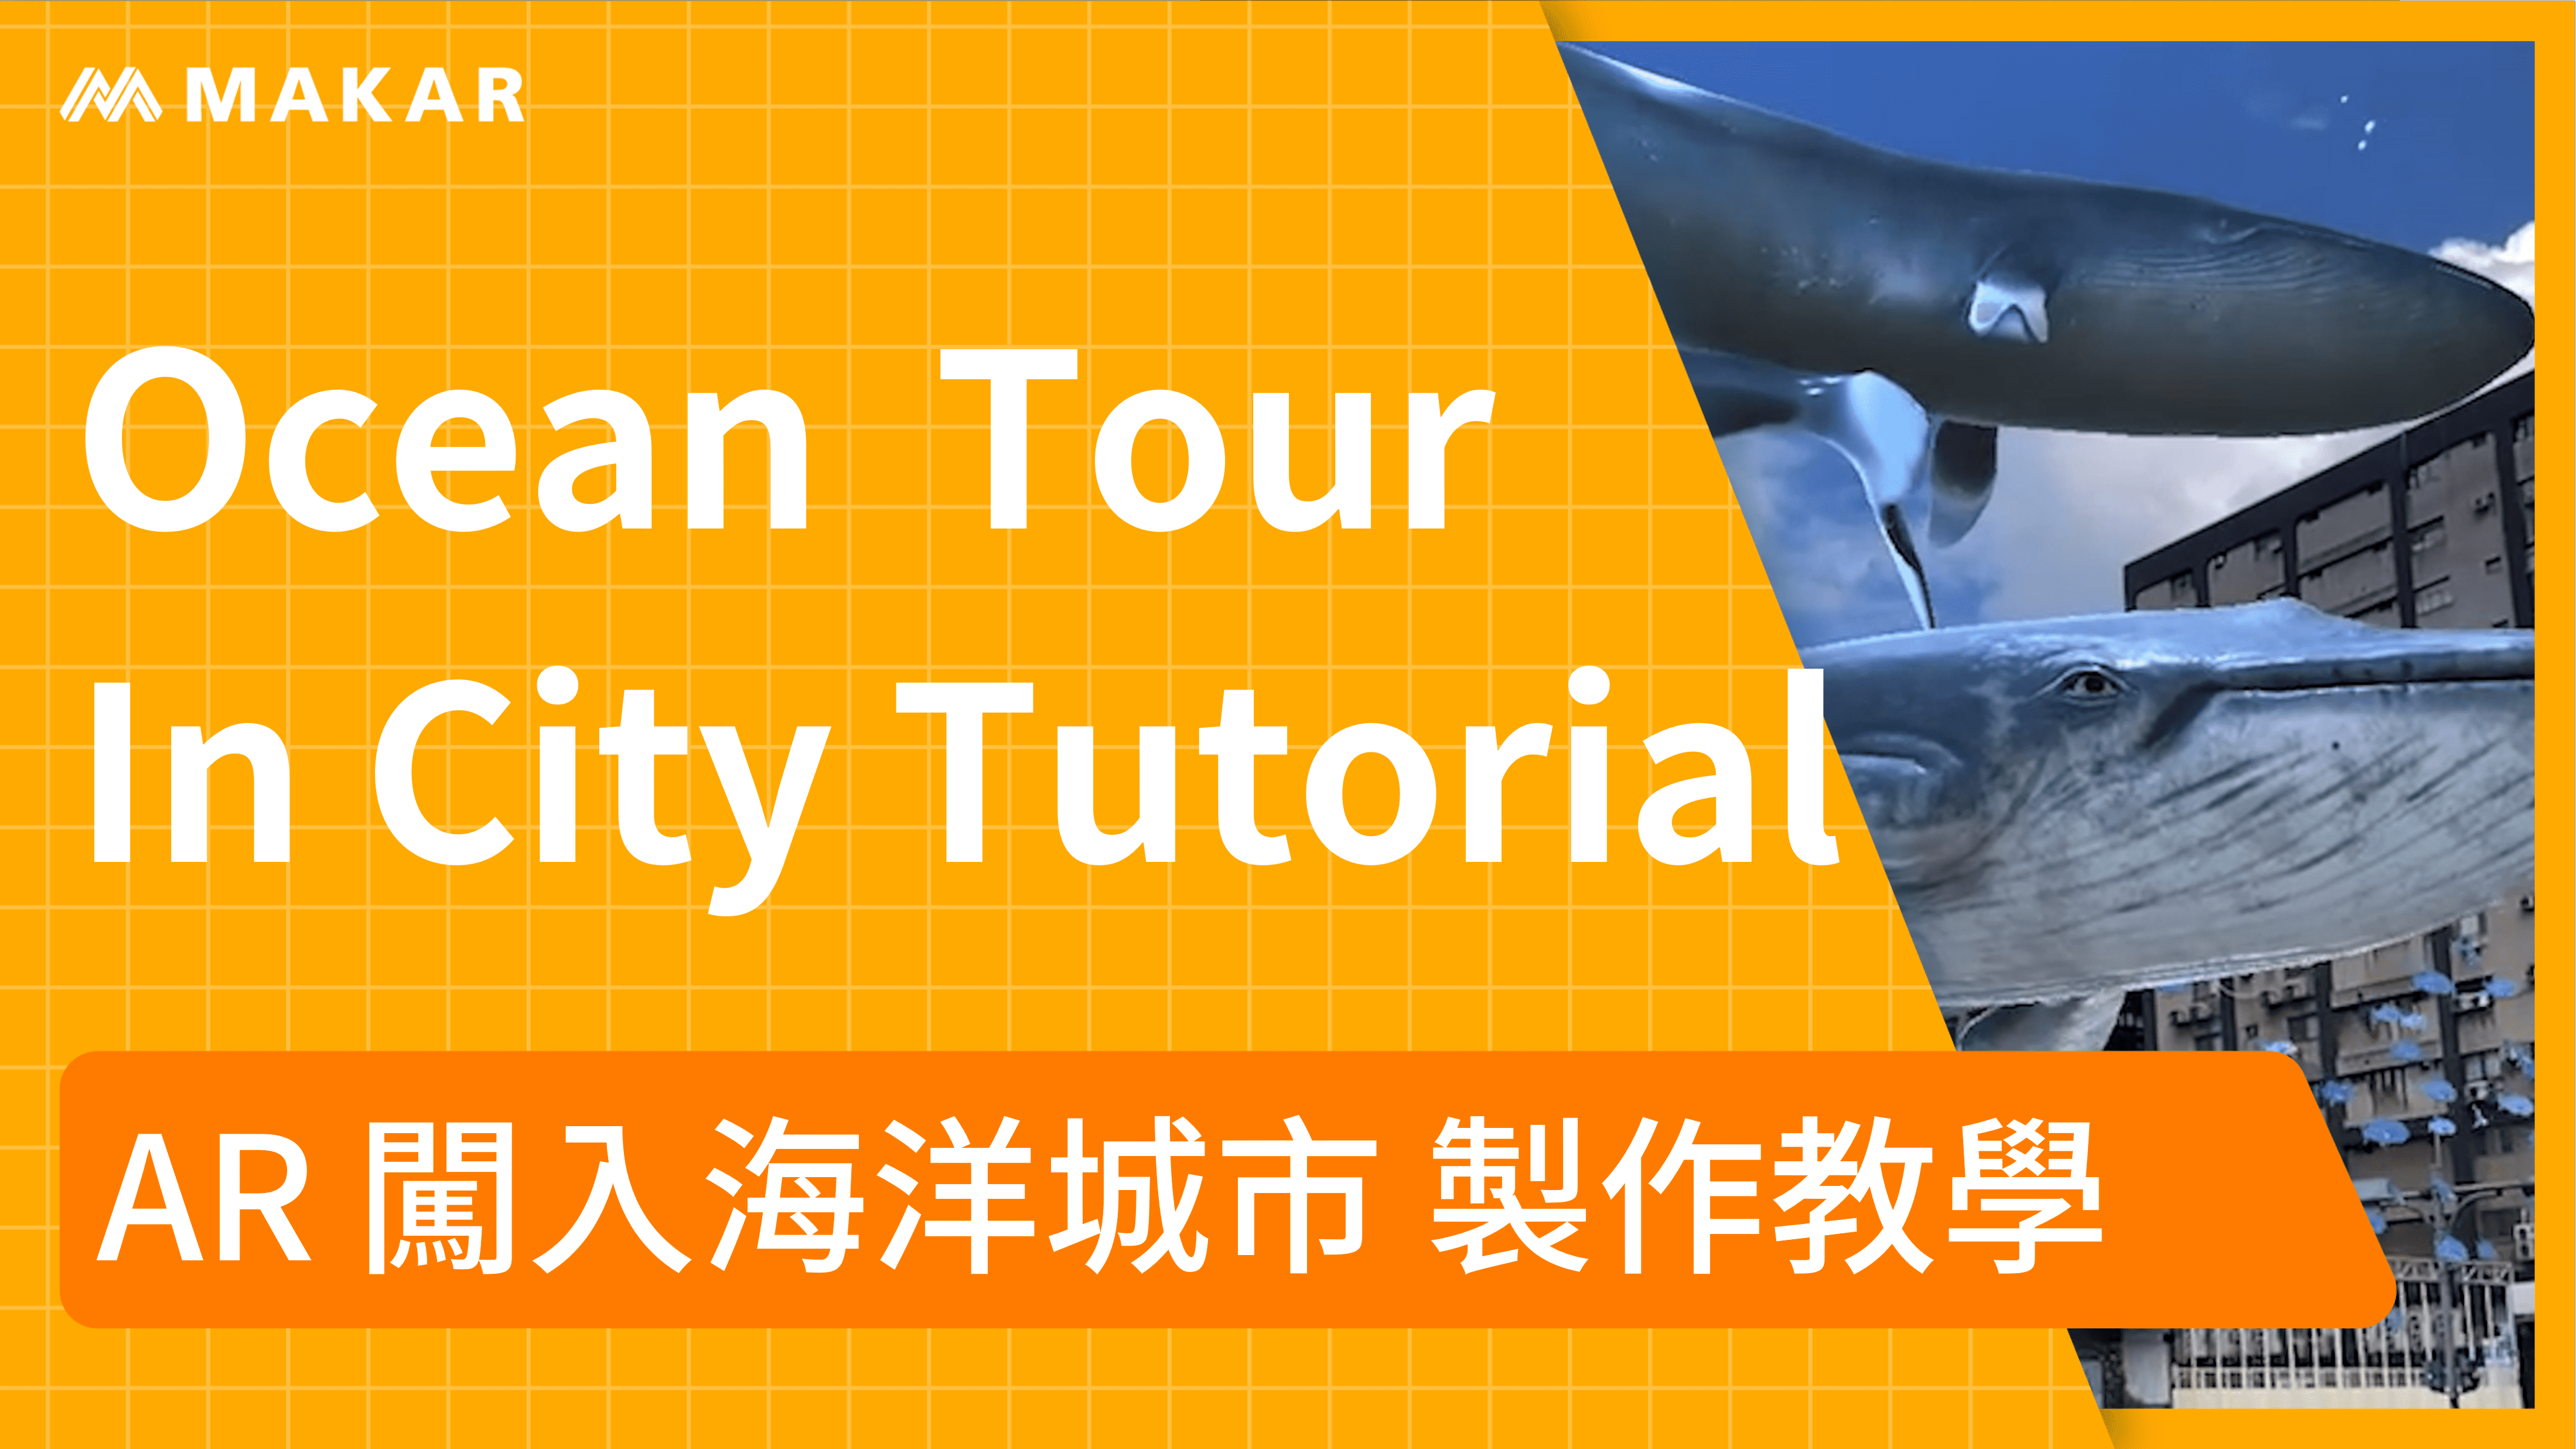
【XR Project Tutorial】How to Create the Keelung Harbor Whale Shark AR Experience? Use MAKAR to Create an AR Experience with Whales Soaring in the Sky!
MAKAR Magic index
Spring Festival AR Animation Tutorial
Logic-Macaron AR Animation
MAKAR Mask project
MAKAR Santa Claus - boning
Metaverse Draw Lots-Using Variable and Lists of MR Project
Use MAKAR to learn physics-Let's make an AR cannon!
Cooperative Learning in MAKAR_Portal
Reality Teacher Project
My first AR Puzzle Pop-up Book
AR puzzle game experience and instructional design application of AR
I'd like a Real Escape, please: How to Design a Real Escape Game
What's about Tabletop Puzzle Games
MAKAR Support Software
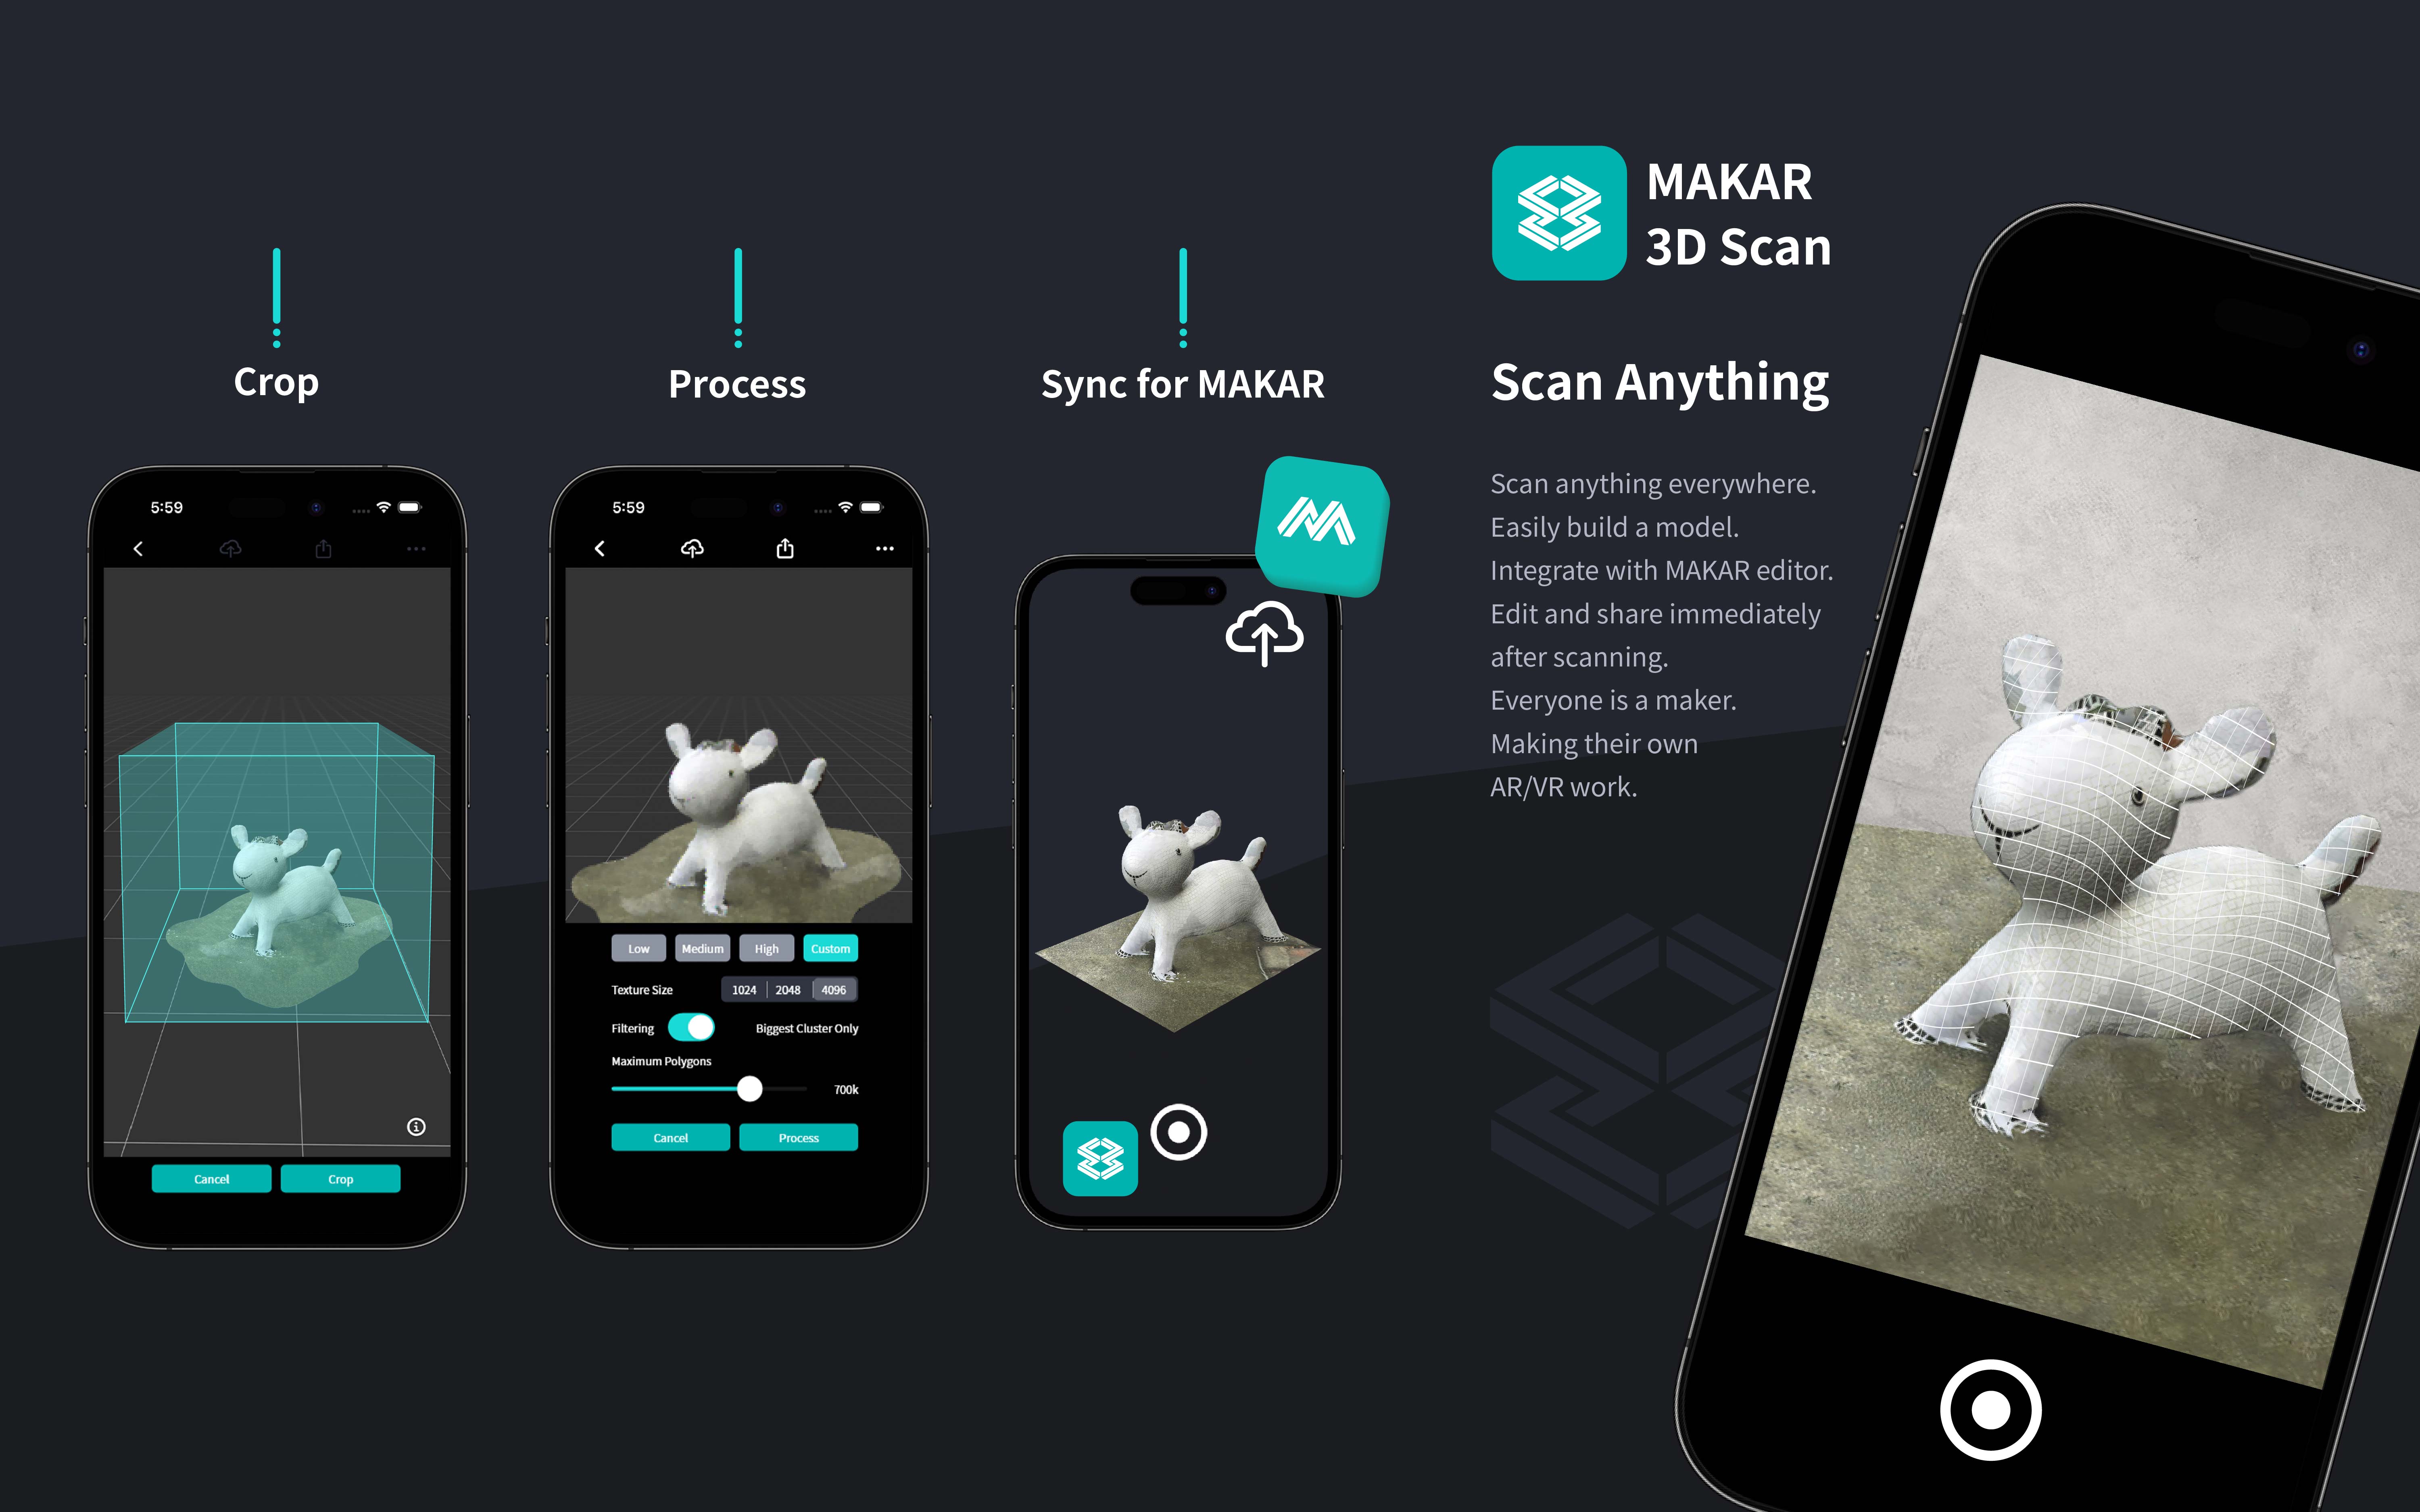
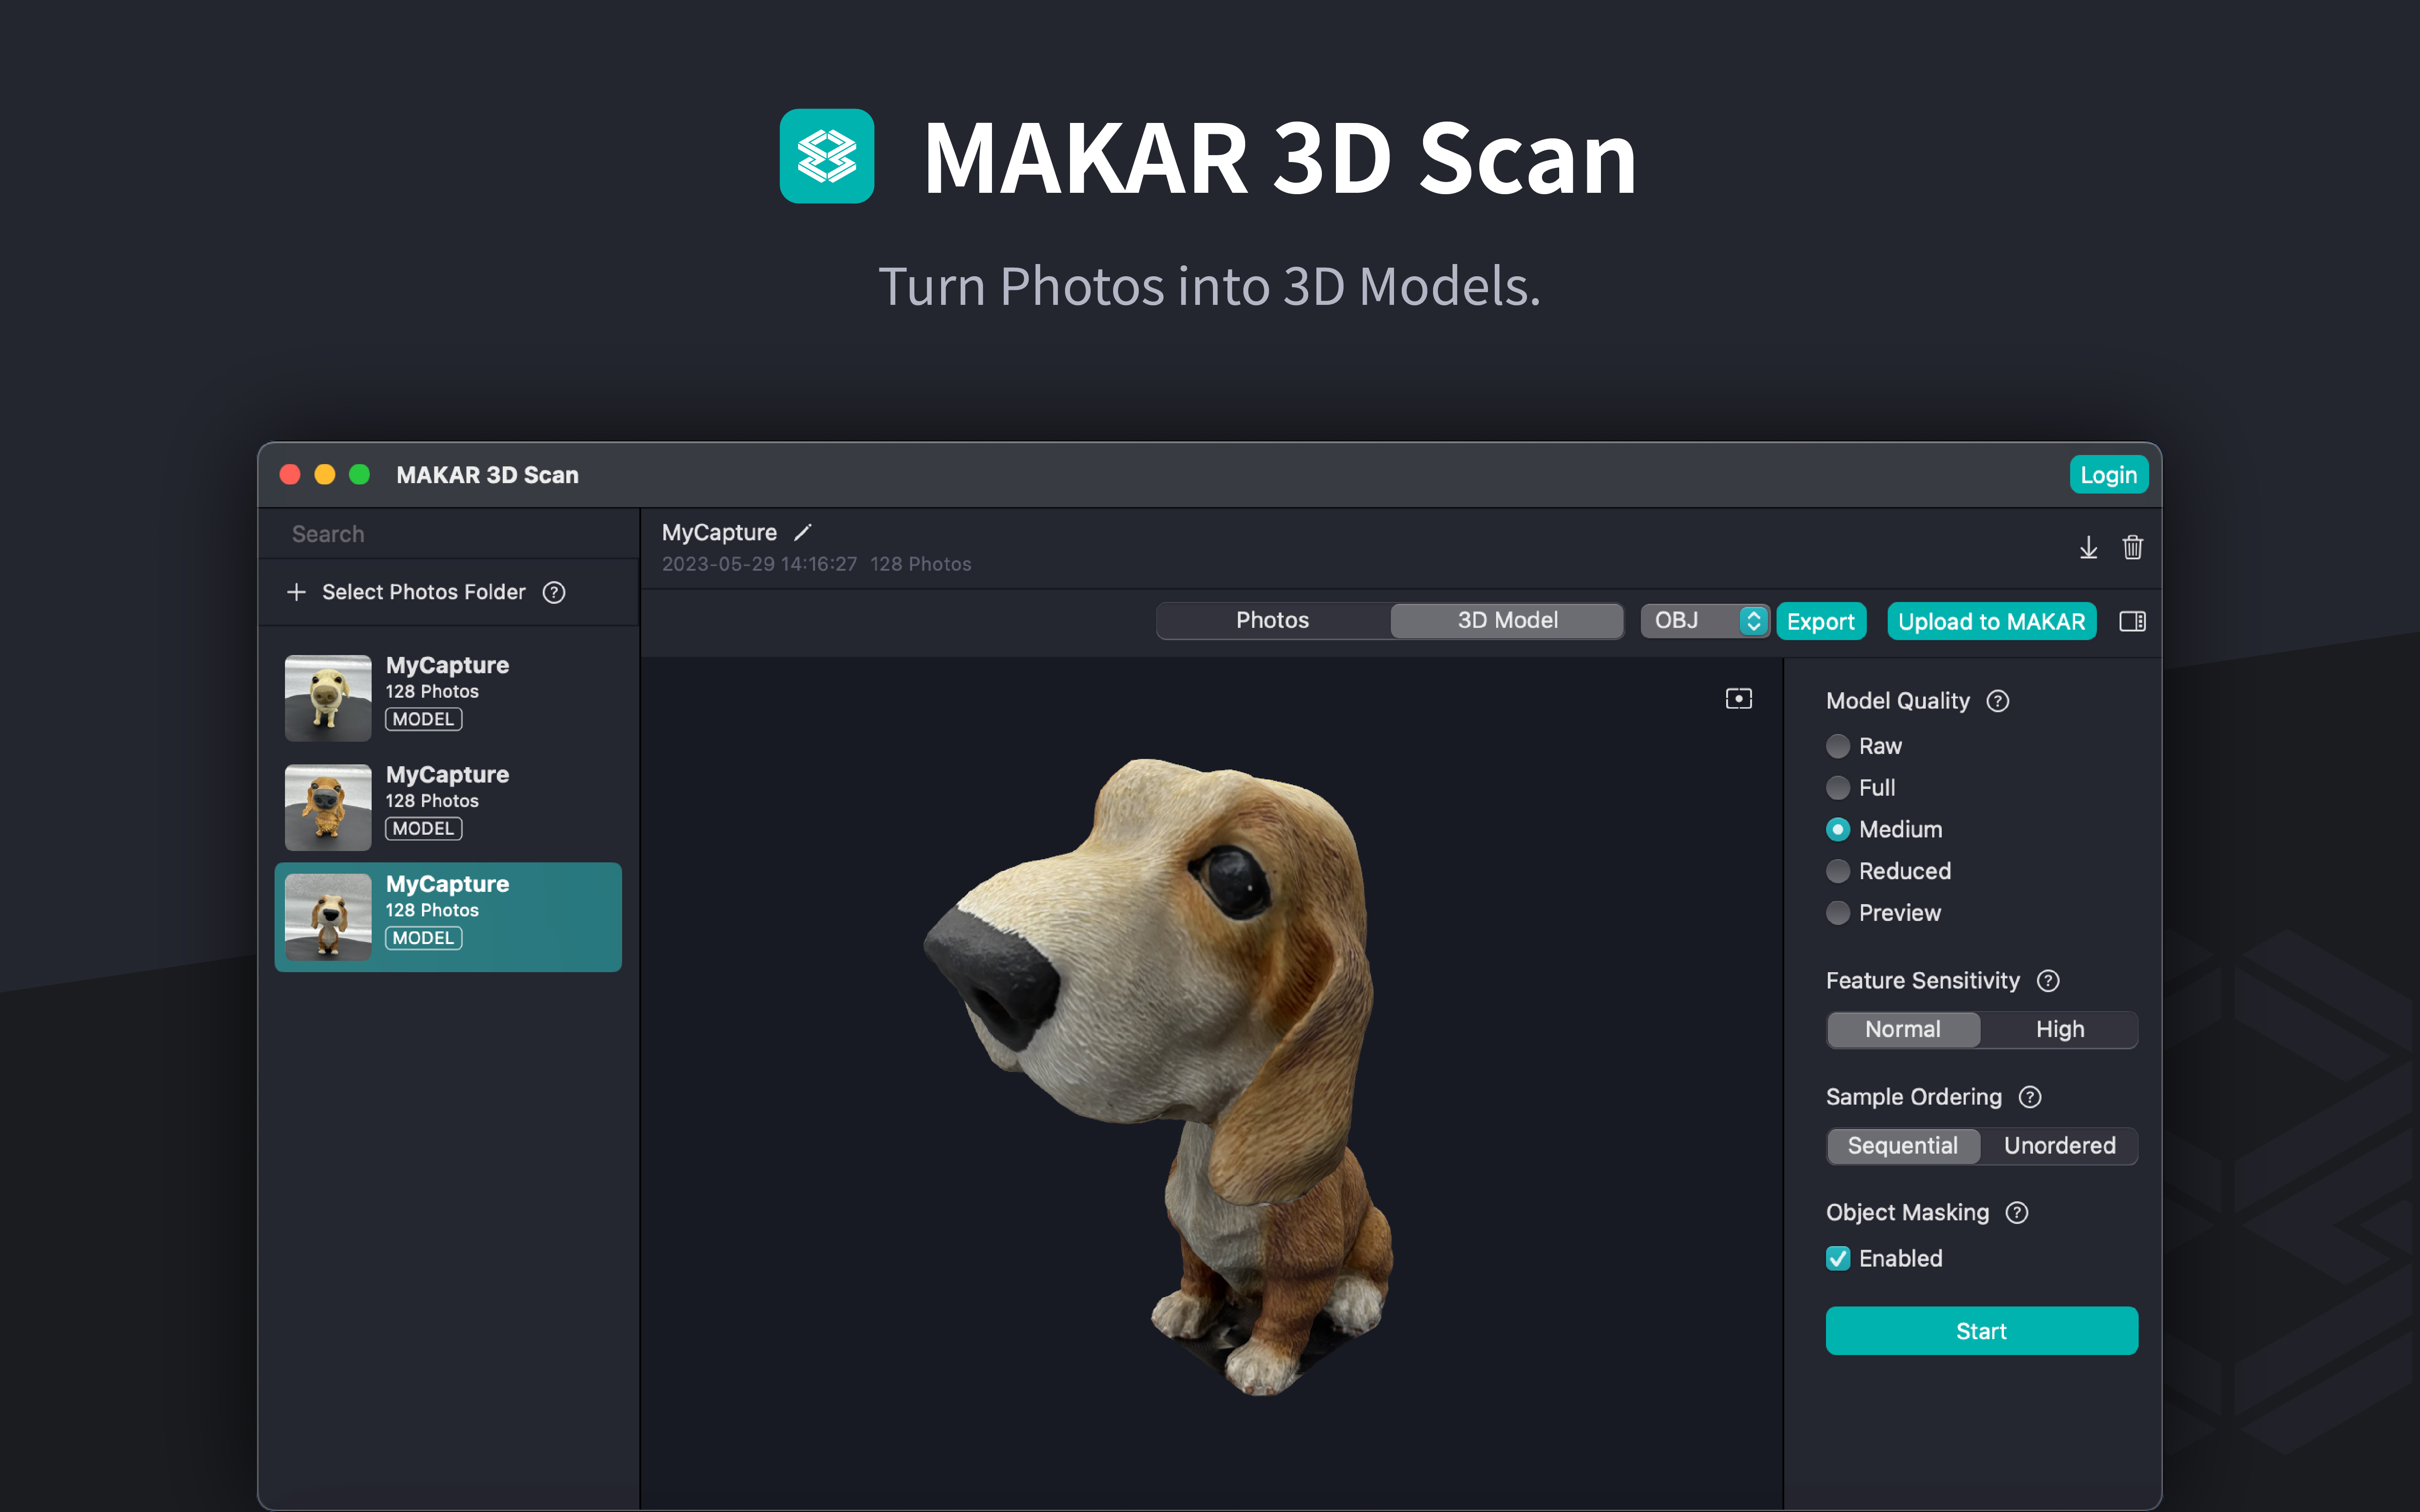
MAKAR 3D Scan
iPhone/iPad MAKAR 3D Scan User Guide
MAC Version MAKAR 3D Scan User Guide
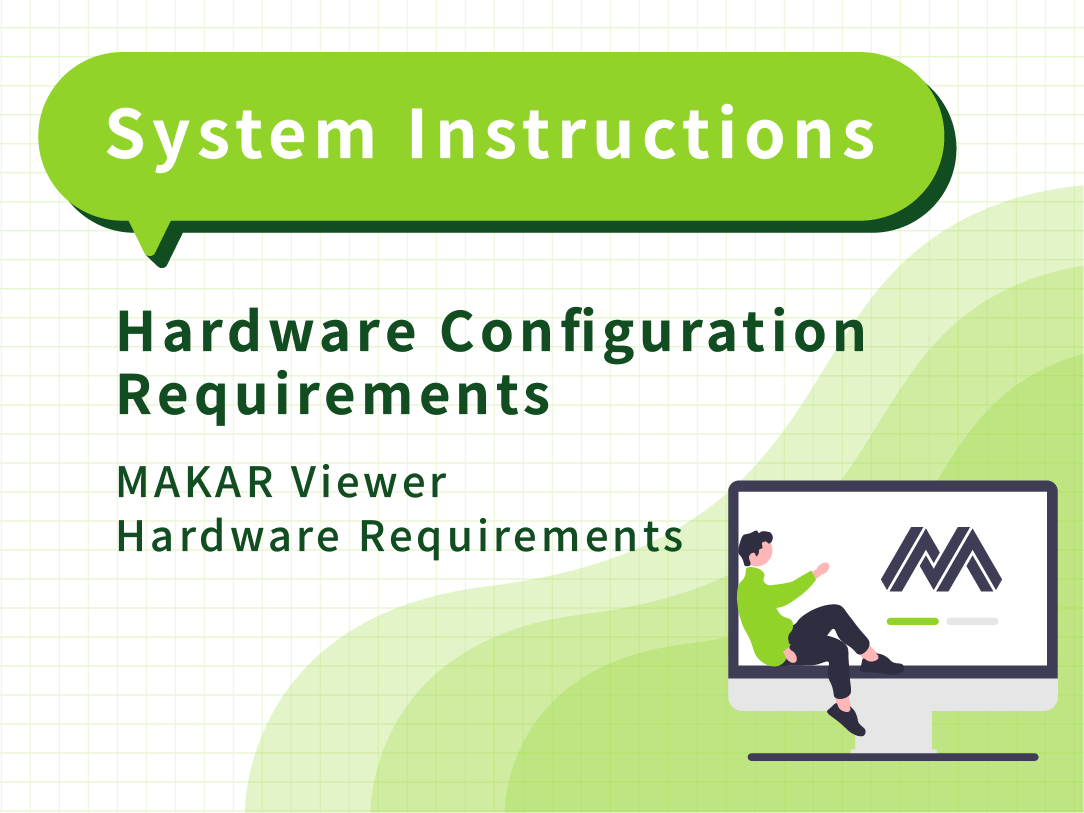
MAKAR Viewr
Hardware Configuration Requirements
MAKAR Viewer Hardware Requirements
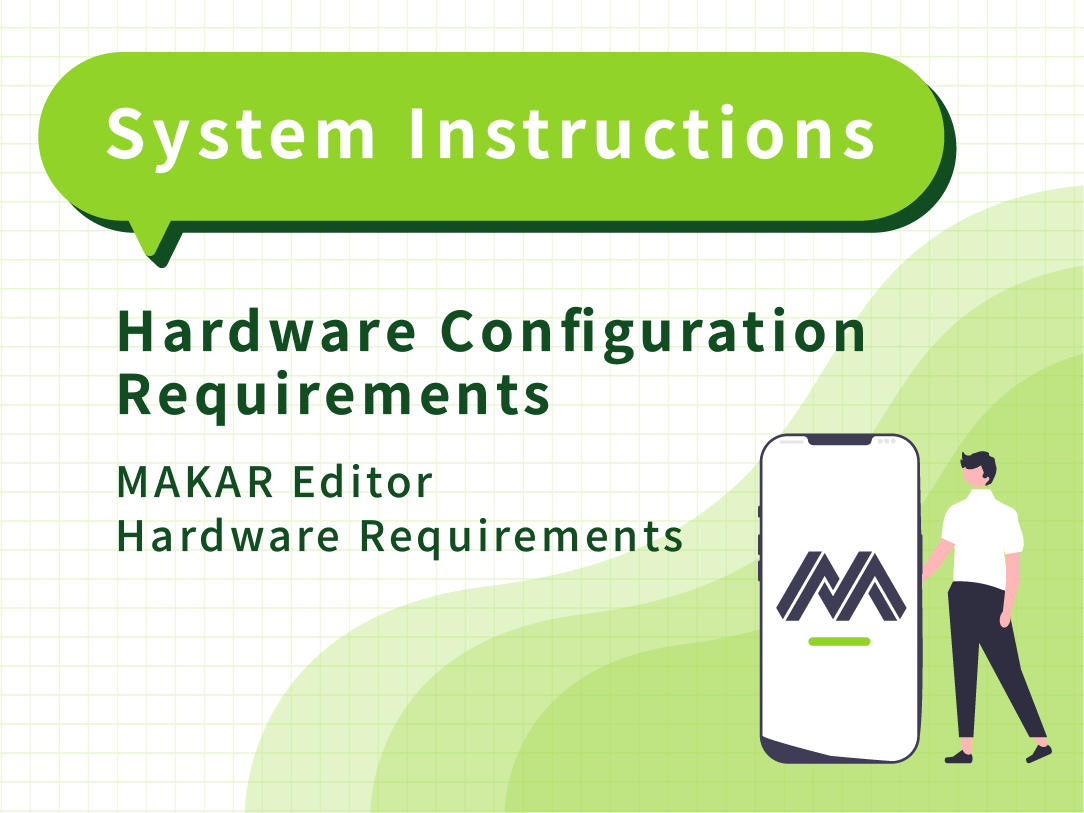
MAKAR Editor
Hardware Configuration Requirements
MAKAR Editor Hardware Requirements
Point Card Module
Create Point Card Module
Scratch Module
Create Scratch Module
Material Resources Management
Adjust and Add Materials
Applying and Viewing Default Materials
Deleting Materials
Introduction to Default Materials
Control Object Properties
Adjust Basic Attributes
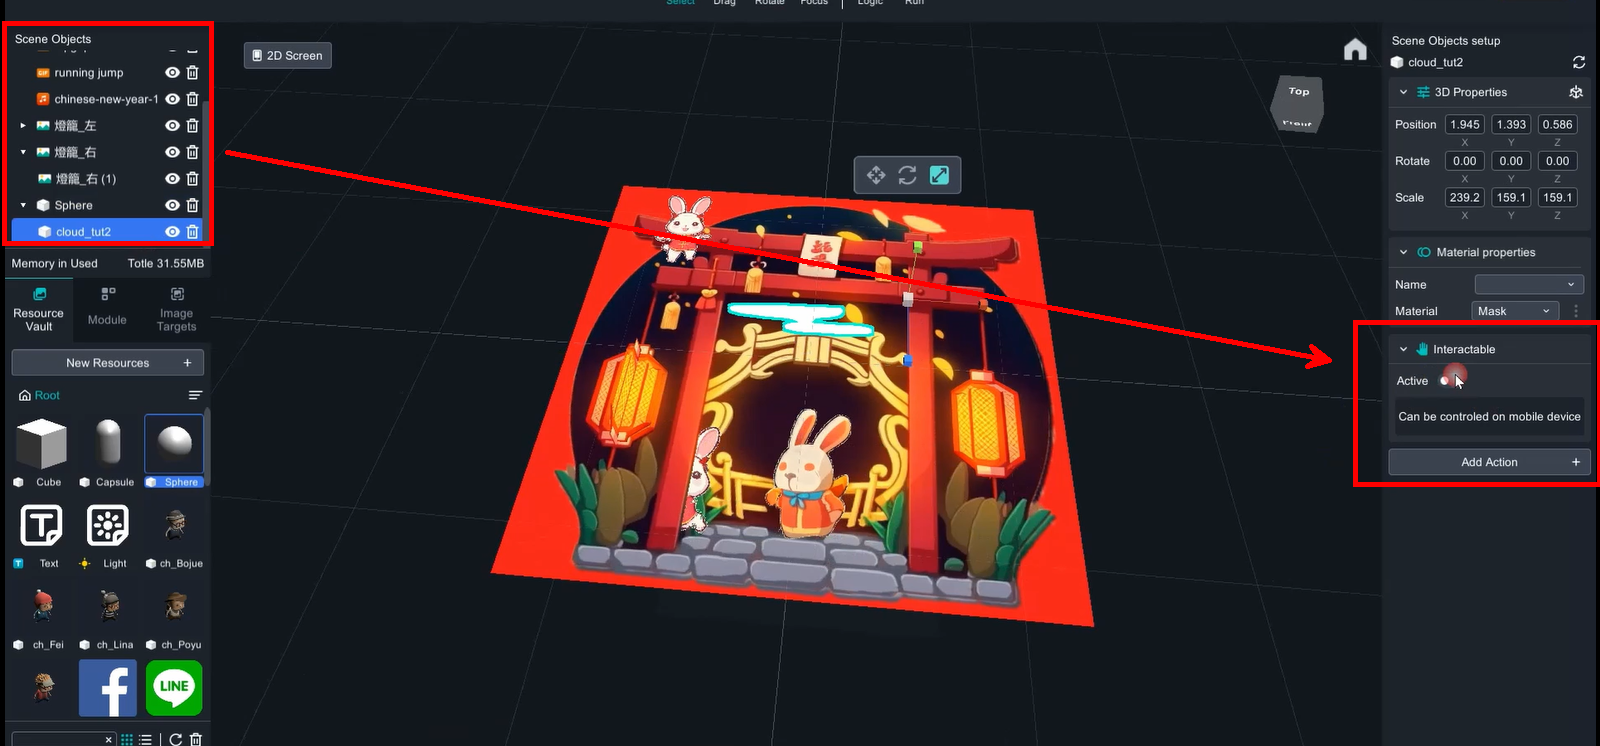
Add Interactive Features
Specify Time
Gyroscope
Using 2D Mode
Edit in 2D Mode
Software Registration and Installation
Download and Install MAKAR Editor
Create Your MAKAR ID on the Website
Use Third-Party Accounts to create MAKAR ID
Log in to MAKAR Editor
Log in with MAKAR ID
Log in with MAKAR EDU
Binding and Unbinding Serial Numbers
Bind Your MAKAR Editor Serial Key
Release Your Bound MAKAR Editor Serial Key
Adjust Preferences
Change Language Settings
Adjust Editing Preferences
Adjust Window and Graphics Settings
Change Keyboard Shortcut Settings
Account Management
Reset Your MAKAR Account
Remove Your MAKAR Account
Update Personal Information for Your MAKAR Account
Check the Status of Your Plan
Share Your MAKAR Personal Page
View Project Data Report
Change Your MAKAR Password
Select Project Type
Augmented Reality (Image)
Augmented Reality (Hand)
Virtual Reality
Mixed Reality
Extended Reality
Project Management
Share Your Project
Complete Basic Project Settings
Unpublish Your Published Projects
Save / Publish Your Project
Copy / Delete Your Project
Memory Usage Inquiry
Export Project
Export as a makr. Project File
Resources Management
Add Your Resources
Manage Your Resources
Manage Your Image Targets
Basic Concepts of Image Targets
Common Resources Issues
Using Basic Tools
Object Control Tool
Mouse-Controlled Screen Navigation
Perspective Adjustment Tool
Using Default Object Tools
Text Object
Light Object
Curve Object
Default Materials
Managing Project Scene Objects
Scene Object Management
About Group Trigger Structure
Training and Curriculum
Education Knowledge
【5G Live Learning】Integrated L1-L5 Course Outline for a Total of 12 Hours
【XR Creation】Three-Hour Course Outline
【XR Creation】Six-Hour Course Outline
【XR Creation】Twelve-Hour Course Outline
前瞻計畫ARVR教材開發重點
Teachers in Service
[3A Emerging Technology Center] Lantern Festival sky lantern wishing pool, MR virtual world is at your disposal
3131922-5G New Technology Learning Demonstration School Series Study
3088204- XR Practice Application (Advanced)
3088200- XR Practice Application (Beginner)
3124796-VR reality design practical application course (online course)
Beishi Yanxizi No. 1100712009
Course Experience Sharing
XR Practical Applications Course (Basic)
XR Practical Applications Course (Advanced)
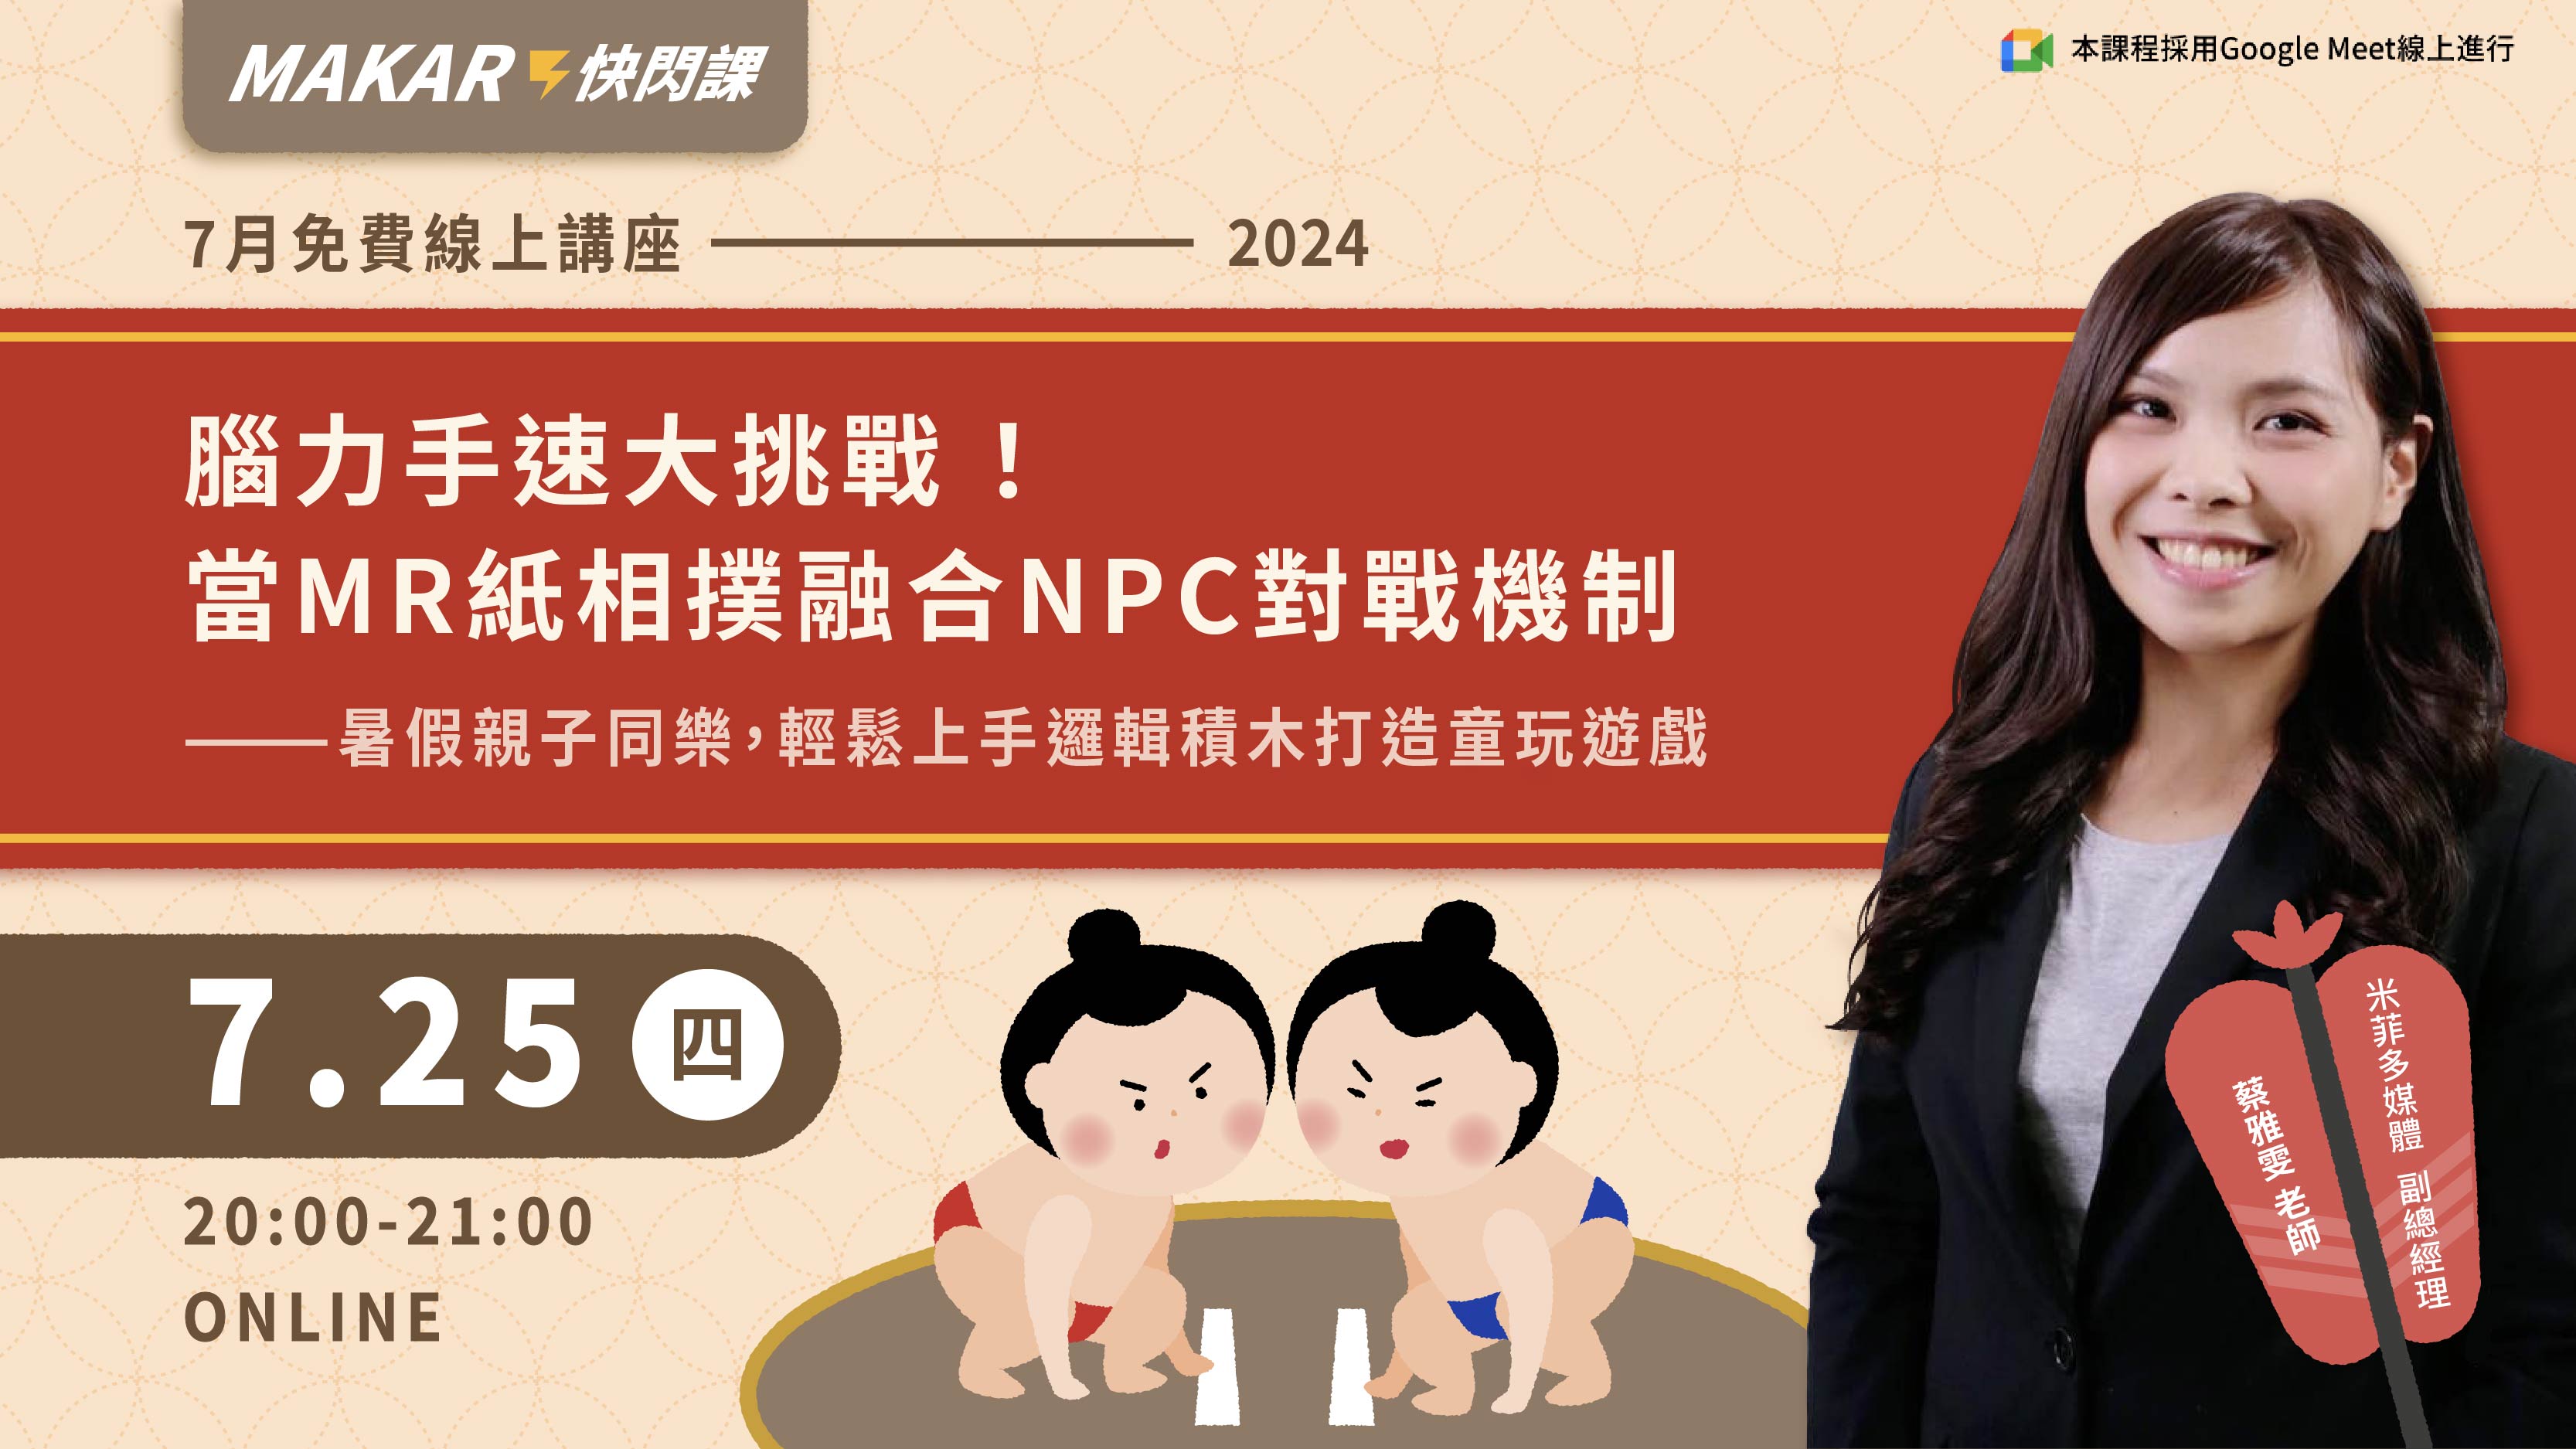
Flash Course
MAKAR Flash - Brain and Speed Challenge! When MR Paper Sumo Meets NPC Battle Mechanism
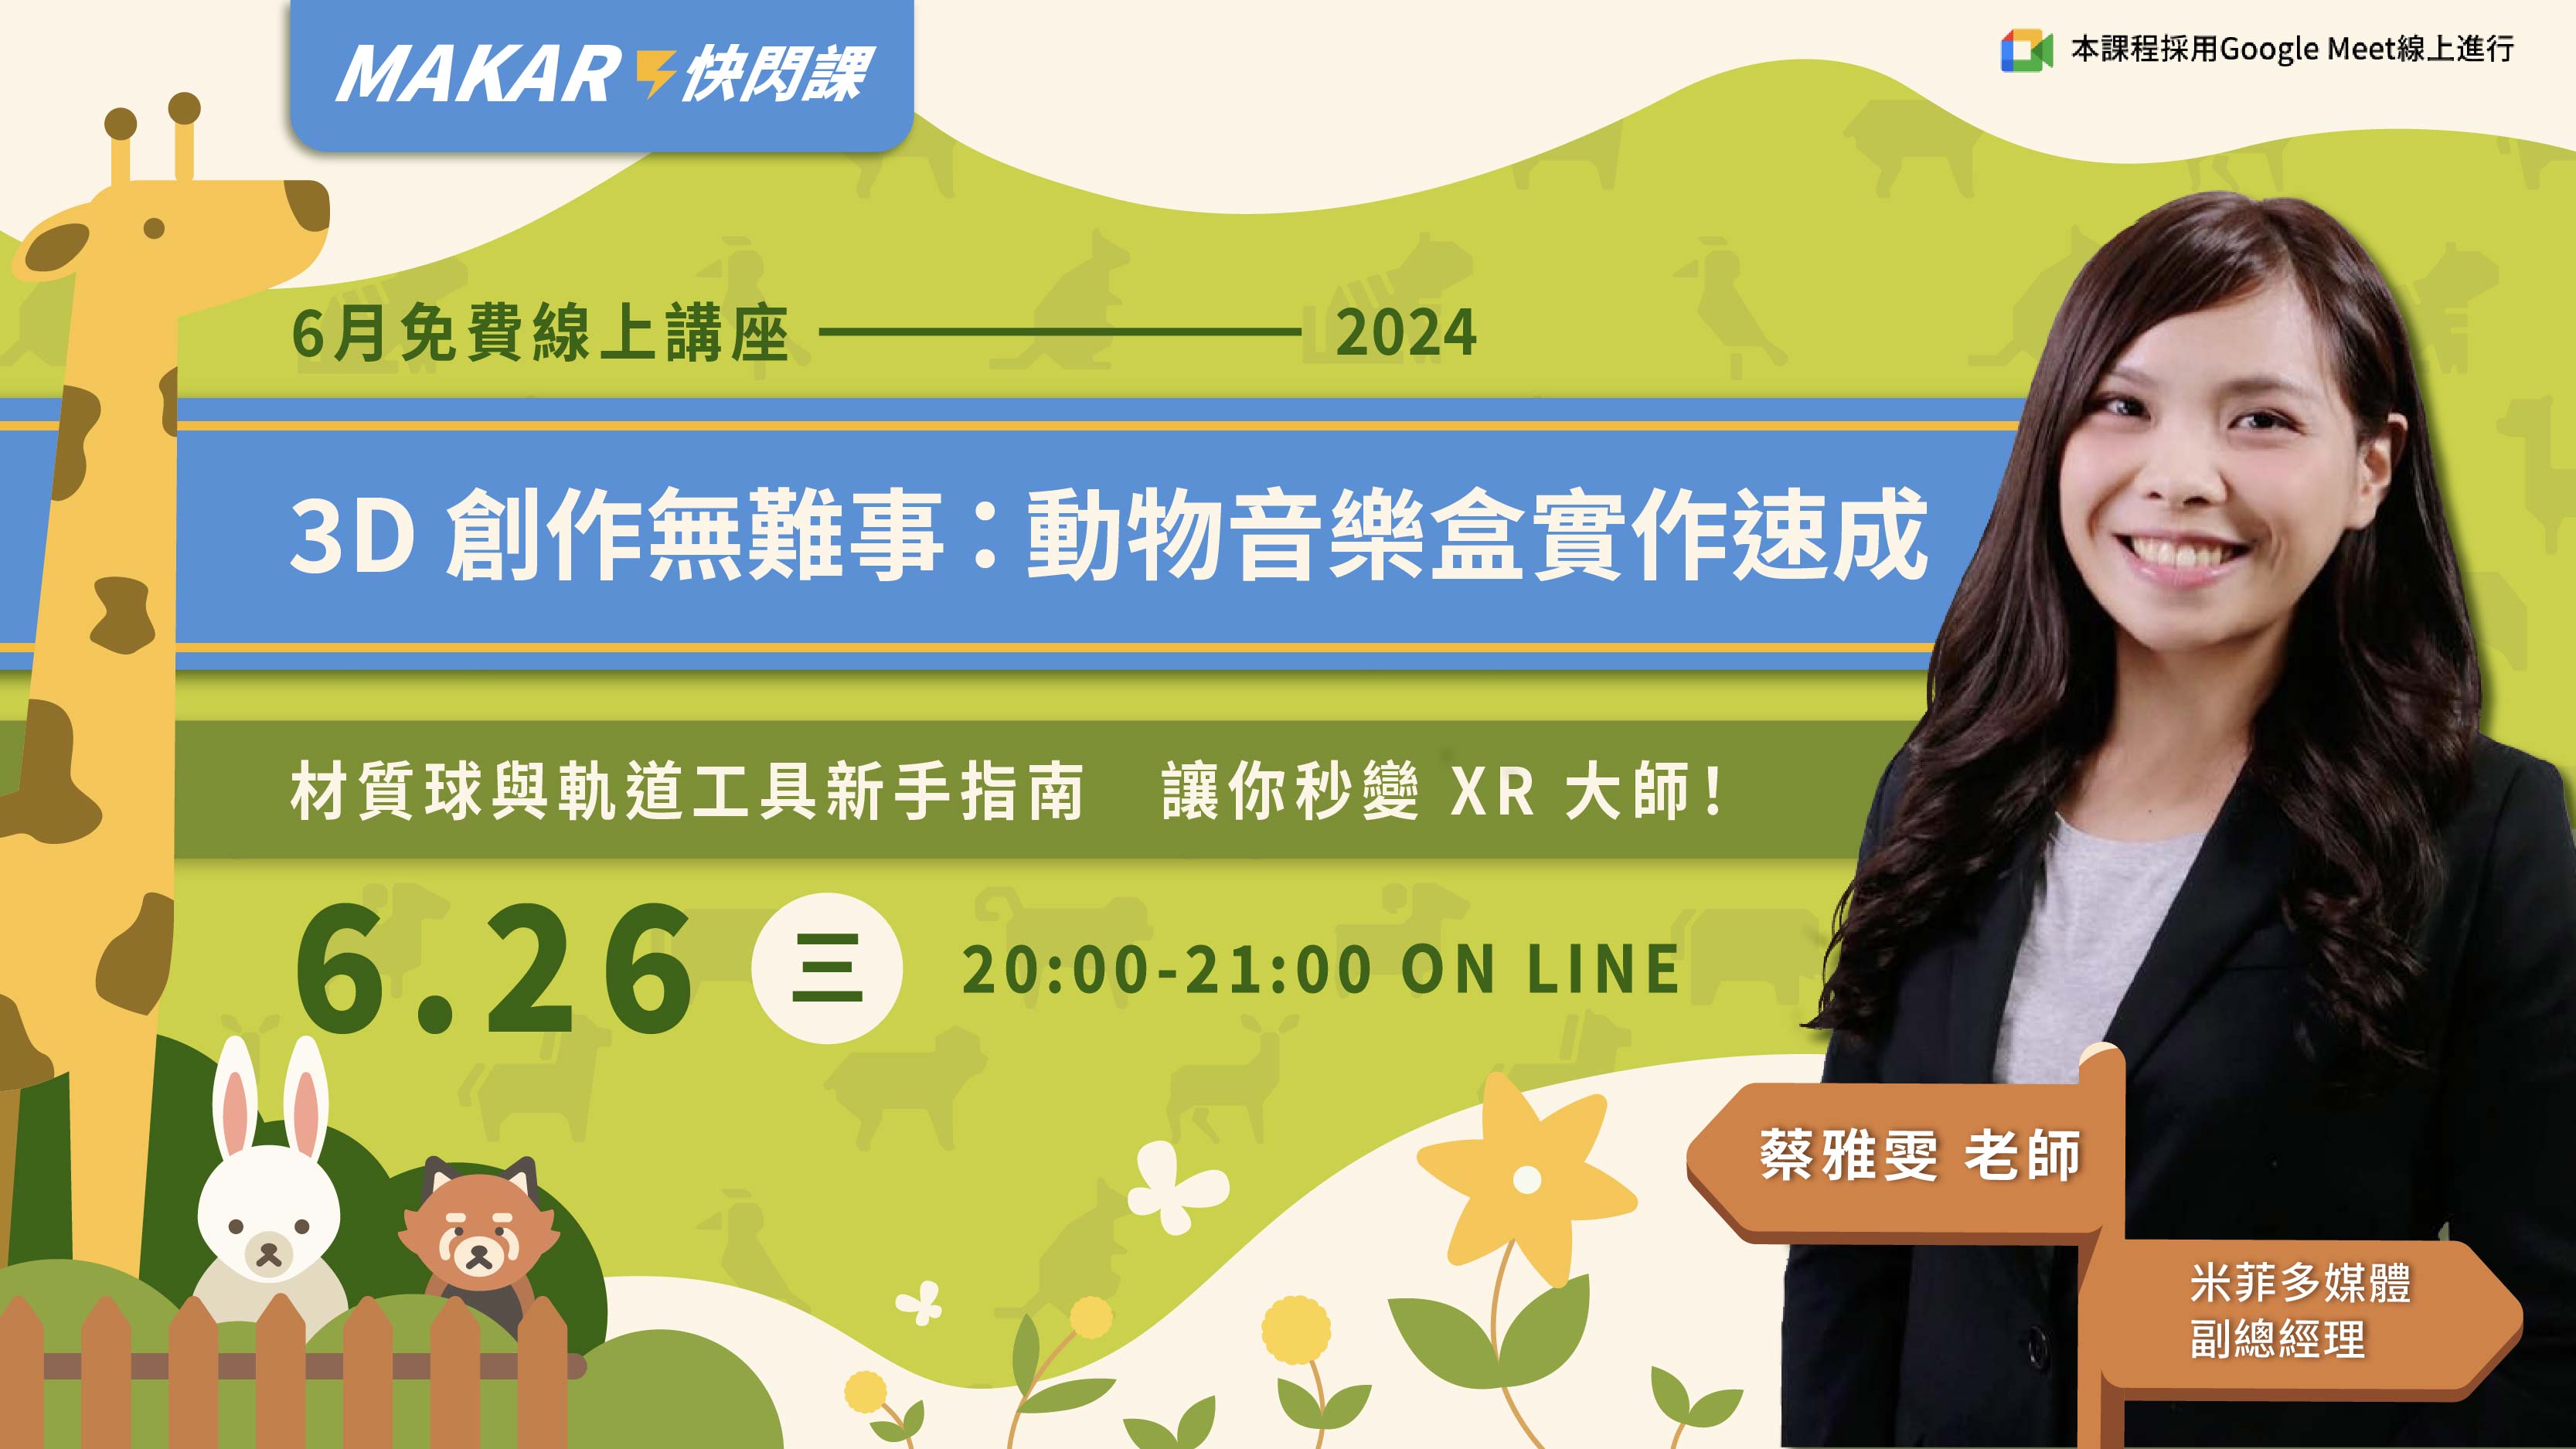
MAKAR Flash - 3D Creation Made Easy: Animal Music Box Quick Workshop
MAKAR Flash-Dragon Boat Festival XR Game Creation Crash Course: Mastering MAKAR's Latest Features with AI-Assisted Extended Reality
MAKAR Flash -One-hour 3D Material Specialization Class, the philosophy that must be grasped for XR creation
MAKAR Flash-How to integrate AR/VR into teaching with 5G? Quickly build your exclusive XR teaching materials!
MAKAR Flash-Creating Your Own 3D Material Library with Your Phone? MAKAR 3D Scan New Application Analysis!
MAKAR Flash-How Can Beginners Quickly Recreate Unity AR/VR Projects?
Tutorials
Real-world Cases and Outcomes
more...
② Guardian Breeder: Guardians of the Plant Kingdom
北科互動所-5-泡麵三分鐘
北科互動所-2-moe moe chu
北科互動所-1-皮卡丘
Digital Knowledge Concepts
more...
Understanding GLB, OBJ, STL, and Other Common 3D File Formats, with Blender Conversion Tutorial Included!
Multimedia Applications in the Metaverse Format Analysis
MAKAR Project Teaching
more...
AR Envelope for Beginner –New Year Rabbit
AR Envelope for Advancedr –Lucky Rabbit
【XR Project Tutorial】How to Create the Keelung Harbor Whale Shark AR Experience? Use MAKAR to Create an AR Experience with Whales Soaring in the Sky!
MAKAR Magic index
MAKAR Support Software
more...
iPhone/iPad MAKAR 3D Scan User Guide
MAC Version MAKAR 3D Scan User Guide
MAKAR Viewr
more...
MAKAR Viewer Hardware Requirements
MAKAR Editor
more...
MAKAR Editor Hardware Requirements
Download and Install MAKAR Editor
Create Your MAKAR ID on the Website
Use Third-Party Accounts to create MAKAR ID
Training and Curriculum
more...
MAKAR Flash - Brain and Speed Challenge! When MR Paper Sumo Meets NPC Battle Mechanism
MAKAR Flash - 3D Creation Made Easy: Animal Music Box Quick Workshop
MAKAR Flash-Dragon Boat Festival XR Game Creation Crash Course: Mastering MAKAR's Latest Features with AI-Assisted Extended Reality
【5G Live Learning】Integrated L1-L5 Course Outline for a Total of 12 Hours