회원 로그인
무료 등록
제품과 서비스
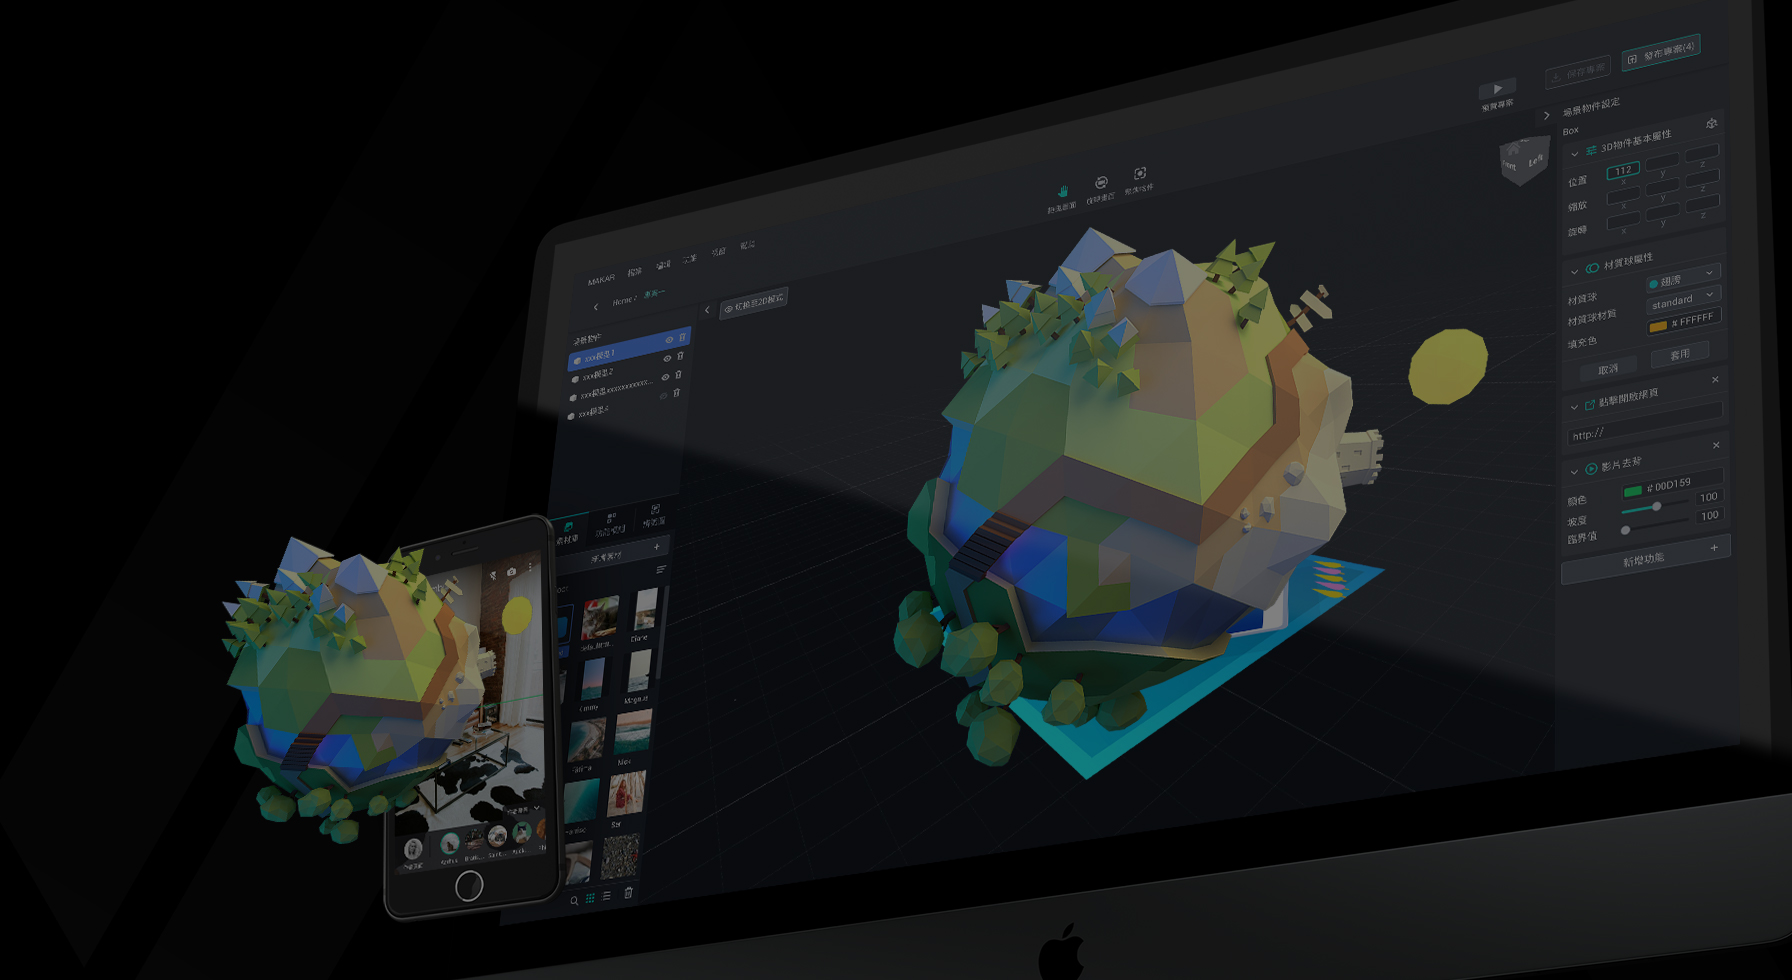
MAKAR 에디터
MAKAR 앱
내장 솔루션
Web AR / VR
학교 교육 보급
구매
구매 플랜
포인트 구매
학습
학습
FAQ
최신 소식
연락처
연락하기
대리점 찾기
다운로드
Language
繁中
English
日本語
한국어
회원 로그인
무료 등록
Language
繁中
English
日本語
한국어
학습
실제 사례 및 결과
Campus Case Study
Nan-Gwang Elementary School's 84th Anniversary
109 Changhua Pinghe AR Graduation Ceremony AR Shows Teaching Achievements
Marketing Case Study
The first AR coloring card in Taiwan- Bring 3DMommy's image into to life
Bayer integrates MIFLY AR Technology , teach you how to help your dog relax
Halloween combines with AR, shining New Taipei City
Mei hao dahu
Taiwan Railway celebrates 132nd anniversary exhibition, create immersive AR interactive APP together with MIFLY
Zhu Ming Art Museum X MAKAR launches WEB AR painting experience
CTV celebrates its 50th anniversary, especially using WebAR technology to add joy!
Project Results
北科互動所-5-泡麵三分鐘
北科互動所-2-moe moe chu
北科互動所-1-皮卡丘
National Pingtung University-temperature point card App
CJCU- Pingtung Park real escape game
NTNU Search monitor
MAKAR 프로젝트 교육
AR/VR Basic Projects
MAKAR Making an AR language learning card
Tutorial of 3D AR Dinosaur Oreo!
AR Image Recognition-English card
AR 3D Zoom
AR Comic Book - Cartoon Singer
VR Tour-Piazza San Marco
VR Treasure Hunt Game-Finding puppy
AR Historical relics card-Terracotta Warriors
Themed Project
SkyLanternTutorial
Reality Teacher Project
My first AR Puzzle Pop-up Book
AR puzzle game experience and instructional design application of AR
I'd like a Real Escape, please: How to Design a Real Escape Game
What's about Tabletop Puzzle Games
Training and Curriculum
Education Knowledge
前瞻計畫ARVR教材開發重點
Teachers in Service
[3A Emerging Technology Center] Lantern Festival sky lantern wishing pool, MR virtual world is at your disposal
3131922-5G New Technology Learning Demonstration School Series Study
3088204- XR Practice Application (Advanced)
3088200- XR Practice Application (Beginner)
3124796-VR reality design practical application course (online course)
Beishi Yanxizi No. 1100712009
Course Experience Sharing
XR Practical Applications Course (Basic)
XR Practical Applications Course (Advanced)
학습
실제 사례 및 결과
more...
北科互動所-5-泡麵三分鐘
北科互動所-2-moe moe chu
北科互動所-1-皮卡丘
Nan-Gwang Elementary School's 84th Anniversary
MAKAR 프로젝트 교육
more...
SkyLanternTutorial
My first AR Puzzle Pop-up Book
MAKAR Making an AR language learning card
AR puzzle game experience and instructional design application of AR
Training and Curriculum
more...
[3A Emerging Technology Center] Lantern Festival sky lantern wishing pool, MR virtual world is at your disposal
前瞻計畫ARVR教材開發重點
3131922-5G New Technology Learning Demonstration School Series Study
3088204- XR Practice Application (Advanced)