AR Historical relics card-Terracotta Warriors
Materials:
●3DMaterials_FBX
●Online 3DMaterials
●MP3
Limit:
image: JPG, GIF & PNG(Maximum file size5mb)
3DModel FBX (Maximum file size10mb)
video: MP4 (Maximum file size 20mb)
sound: MP3 & WAV(Maximum file size 5mb)
panorama JPG(Maximum file size 5mb)
panorama MP4(Maximum file size 20mb)
Youtube URL: Upload to Youtube and set to public(no limit)
1.Controls the 3D file size-map size
Drag the FBX file into Maya.

Press the A key to display all objects.

Press the number key 6 to display the map.

A new map folder with the same name will be added next to the original FBX file, if we don't see it, it can be found in the attribute.

Press the button (circled in red) in the upper right of the Maya to turn on the attribute, and press the triangle icon next to Color (mouse position).

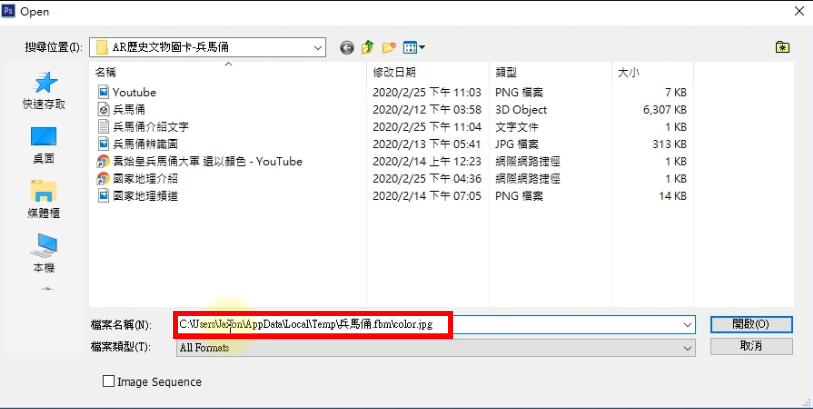
At this point, you can see the saving path, double-click the left mouse on the path text to select it, and then press “Ctrl + C” to copy the entire path.

Open Photoshop, press “Ctrl+O” to open the file, then press “Ctrl+V” to paste the path on the file name, and press Enter.
Press “Alt+Ctrl+I” or click “Image” >”Image size” to resize.

Adjust the width and height to the appropriate size, press “OK”. Then press “Ctrl+S” to save.

Go back to Maya and press “Reload” to reload the file update.

1.Controls 3D file size - automatically reduces faces
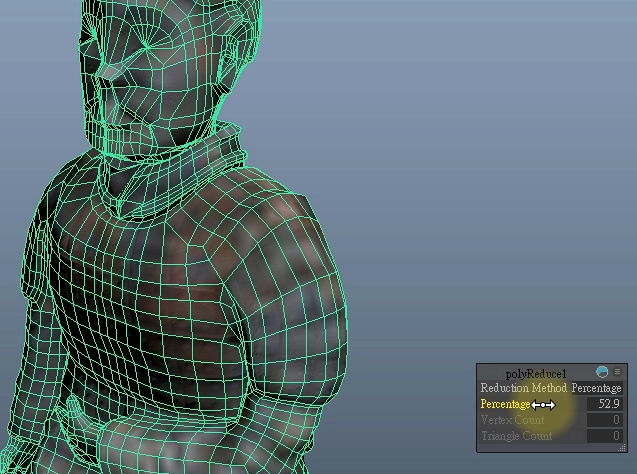
First, click the drop-down menu in the upper left of Maya interface to “Modeling”, and select the model to execute. “Mesh” > “Reduce”.

A mini float window will appear, and move the mouse above the Percentage, you can see the double arrow ←→, hold down the left button and drag it left and right to adjust the reduced face, or enter the value manually.
“File” > “Export Selection” to export FBX file

Remember to check “Embed Media” to export texture with the file.

3.Create MAKAR project
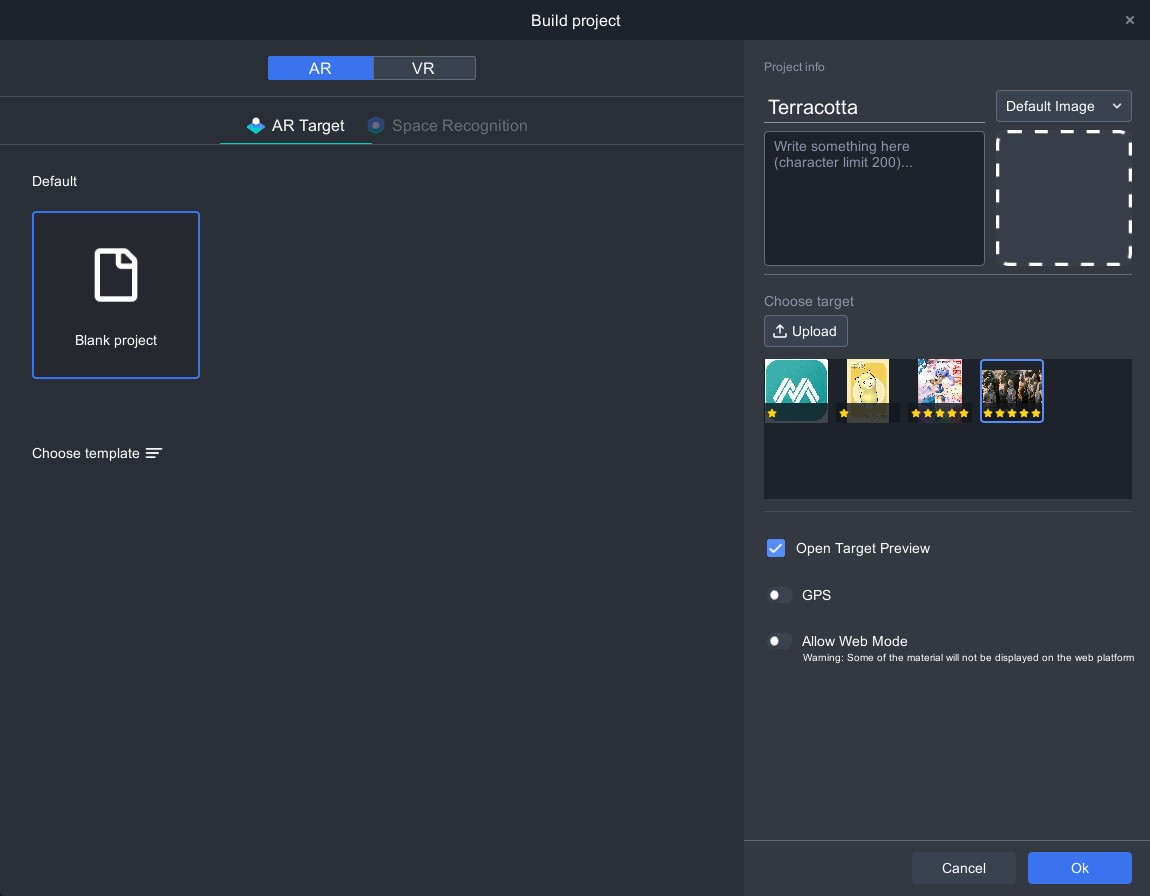
Create a new project on the top left.

Select AR > Target image > Blank project, set the project name and upload images, then click "OK" to finish the process.
4.Import materials
Import all needed material, click “New Resources” on the left > “3D Model” .
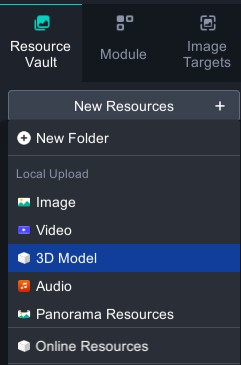
Import the image file in the same way.

You can see that all the materials have been uploaded in the Resource Vault.

5.Edit and adjust the material
Drag the terracotta warriors 3D model into the scene and adjust it to the appropriate size, position and angle.

Also drag the two icon buttons into the scene to adjust position and size.

Drag T Text into the scene, paste the prepared text into the property on the right side, and place it in the appropriate position and size on the scene.

To change the color of the text, click the palette on the color property and select the color.

6.Add link to website
Select Youtube, then click “Add Action” > “Link to Website”.

Paste the URL, and do the same process on other “National Geographic Channel” icons.

7. Take a look
Open MAKAR App on your mobile, input ID:makarclass03,remember to select AR marker. Press Experience to scan, and you’ll see the result!
