会員ログイン
無料登録
製品とサービス
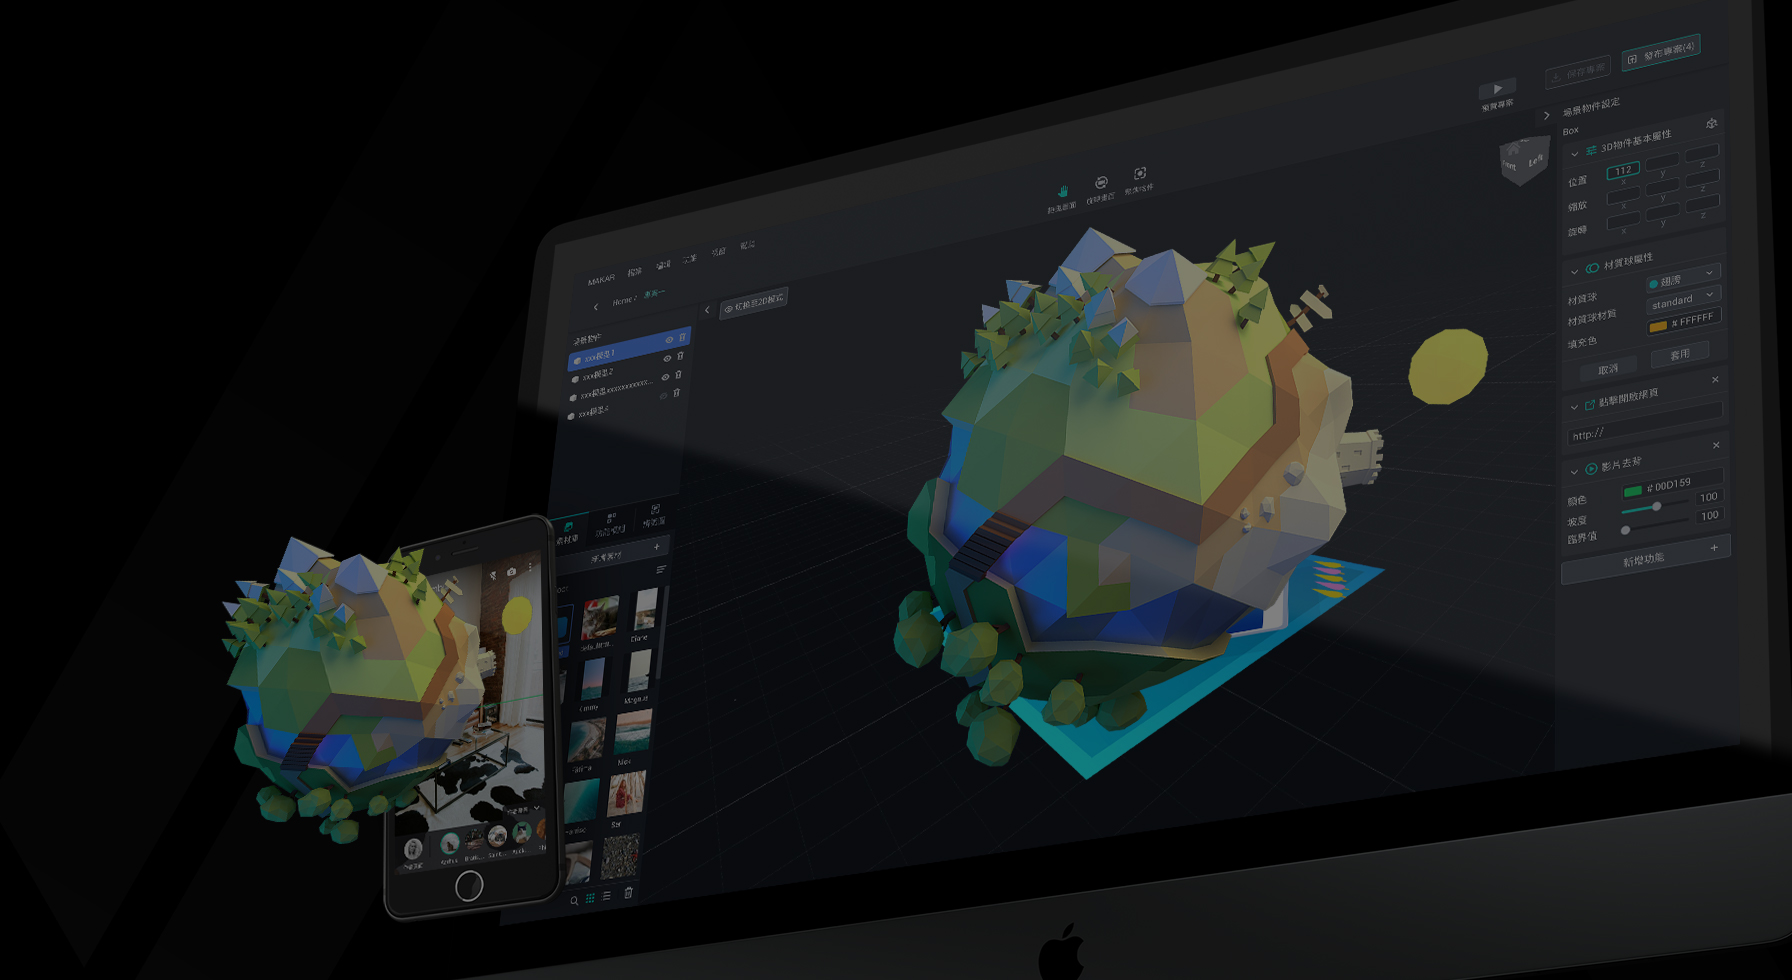
MAKAR エディター
MAKAR アプリ
組込みソリューションプラン
Web AR / VR
学校教育の推進
購入
購入プラン
ポイント購入
チュートリアル
チュートリアル
FAQ
最新情報
お問い合わせ
お問い合わせ
代理店を探す
ダウンロード
Language
繁中
English
日本語
한국어
会員ログイン
無料登録
Language
繁中
English
日本語
한국어
チュートリアル
実際のケースと成果
Marketing Case Study
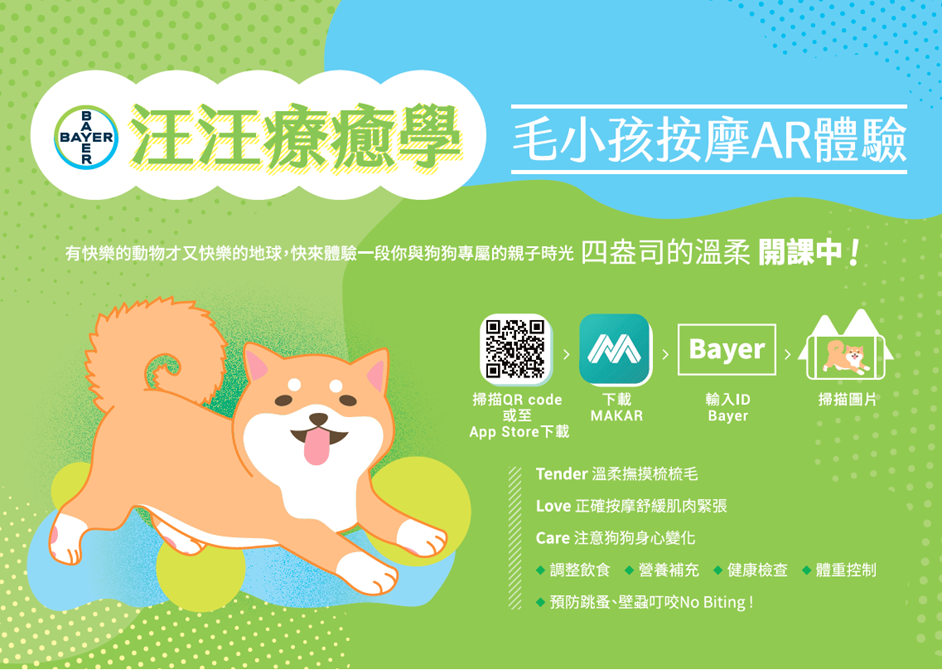
台湾BayerとMIFLYのAR技術で犬をリラックスさせる方法
Project Results
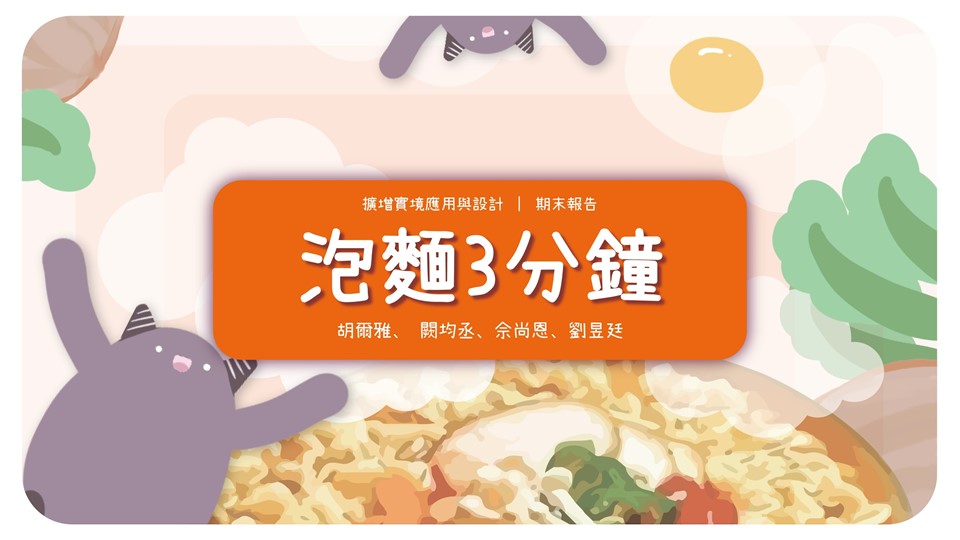
台北科技大学⑤-カップヌードル3分間
台北科技大学②-萌え萌えチュウ
台北科技大学①-ピカチュウ
台北科技大学④- 舌尖上の食べ物
台北科技大学③-外方内円
台北科技大学⑦-Pocky Fortune Magic
台北科技大学⑧-ラテアート
台北科技大学⑨-レストラン例としてARインタラクティな広告
台北科技大学①①- 台南豆花
台北科技大学①②-今夜ここまで飲もう!
台北科技大学①③-レシピ太郎
台北科技大学①④-母は言った
台北科技大学①⑤-ラッキー回転寿司
台北科技大学①⑥-ラーメンAR温度測定
MAKARプロジェクト教育
AR/VR Basic Projects
3D恐竜の作成方法
AR画像認識 - 英語カード
VR ツアー:サン・マルコ広場
VR謎解き:犬を探そう!
Themed Project
MAKARの魔法紹介目録を紹介
旧正月ARアニメーション
理論エディター:マカロンAR動画
MAKAR マスク機能
MAKAR クリスマス
メタバース・おみくじ-変数と陳列MR作成
MAKARで理化を学ぼうー銃砲作成の説明
MAKARからの協力学習-プロジェクトポータル
Reality Teacher Project
SDGs世界万華鏡のようなMRデジタル学習教材
XRコース
コース ライブラリ
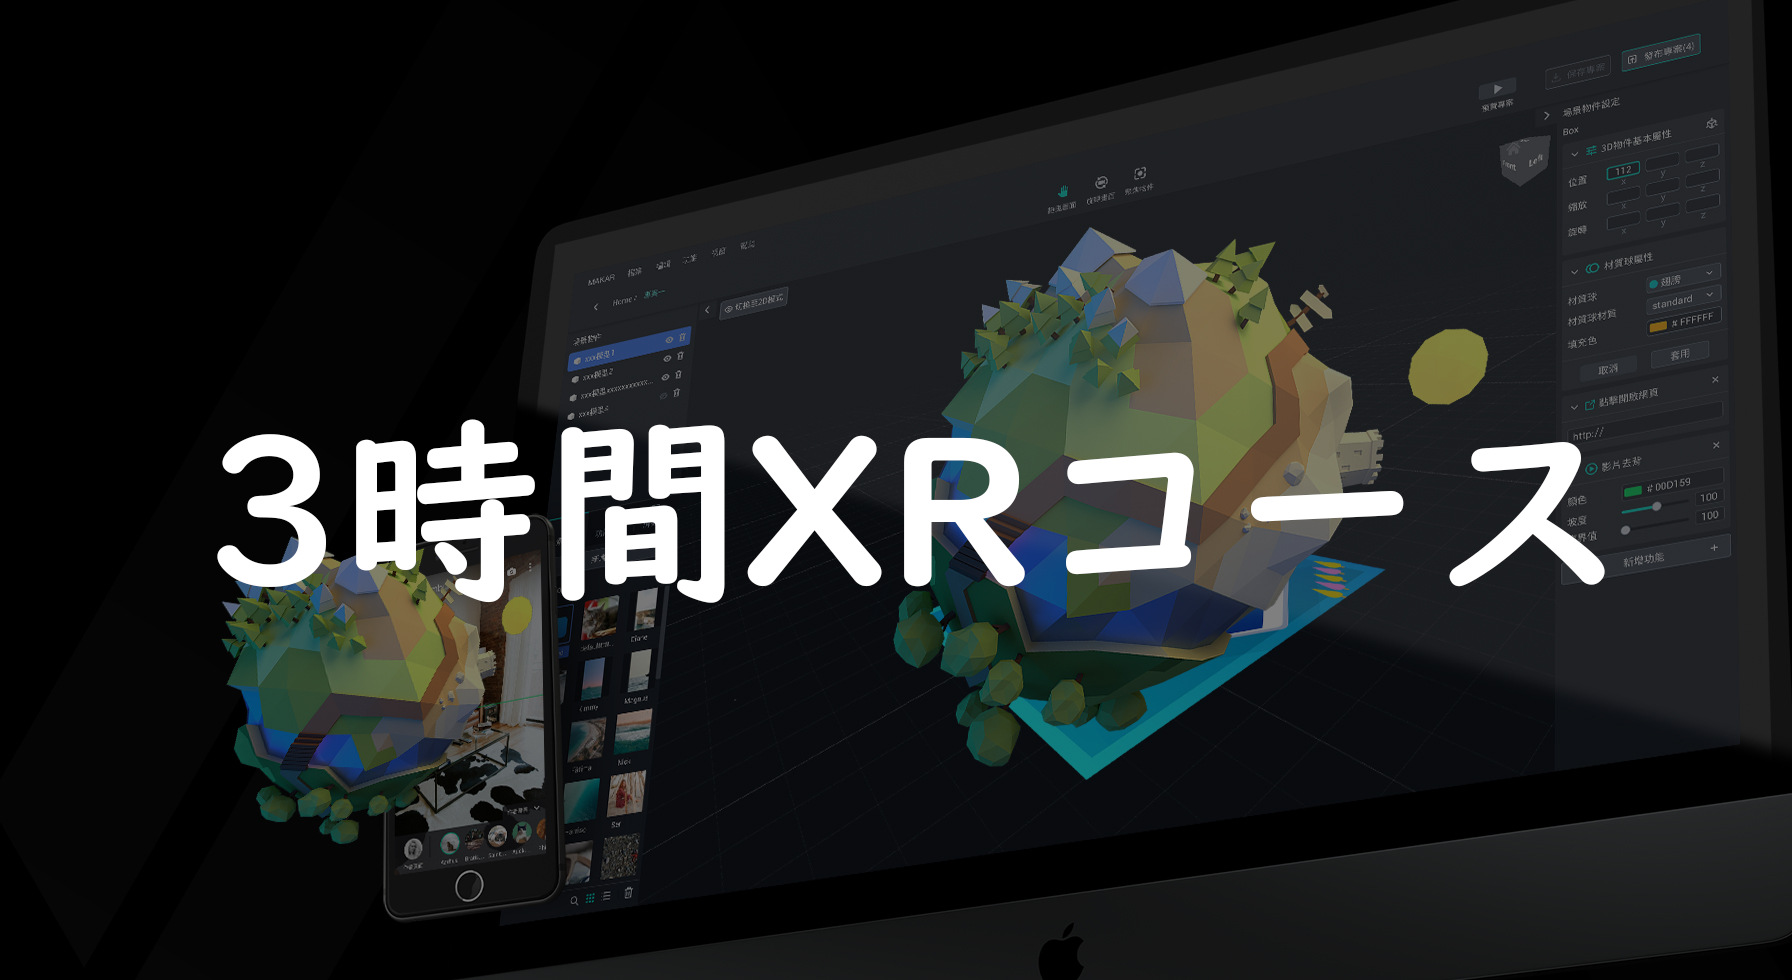
3時間XRコース
チュートリアル
実際のケースと成果
more...
台北科技大学⑤-カップヌードル3分間
台北科技大学②-萌え萌えチュウ
台北科技大学①-ピカチュウ
台湾BayerとMIFLYのAR技術で犬をリラックスさせる方法
MAKARプロジェクト教育
more...
MAKARの魔法紹介目録を紹介
旧正月ARアニメーション
理論エディター:マカロンAR動画
MAKAR マスク機能
XRコース
more...
3時間XRコース